
Published: 21 May 2026
Reading Time: 10 minutes
Reviewer: Simon Scrapes, Founder
Mastering Batch Reflow Oven Operation, Maintenance, and Common Fixes
When it comes to Surface Mount Technology (SMT) manufacturing, batch reflow ovens are at the heart of it all. They don’t just solder components; they control precision, consistency, and flow, making them irreplaceable in modern electronics. But, as anyone who’s worked with them knows, mastering batch reflow oven operation isn’t always straightforward. Let’s make it simpler.
The author is an experienced engineer specializing in Surface Mount Technology equipment and practices, with significant contributions to training and maintenance optimization programs.
Why Are Batch Reflow Ovens Critical for SMT?
Batch reflow ovens are like the superheroes of SMT assembly. They ensure your printed circuit boards (PCBs) get uniform heat treatment, which reduces common problems like solder voids and bridging. For small-to-medium production runs or tricky designs like fine-pitch or multi-layer boards, nothing beats the reliability of batch ovens.
According to recent industry insights, the SMT market is booming because of the precision batch ovens offer. Plus, their affordability makes them perfect for prototyping and flexible applications.
What Makes Them So Tricky to Operate?
If you work with SMT, you know batch ovens don’t make perfect PCBs by themselves. Operators often face challenges like hitting the right thermal settings or avoiding defects like tombstoning. And let’s be real: maintenance, flux residue, and sensors can be a thorn in your side, too.
So, how do you stay ahead of these issues? With careful profiling, a solid maintenance routine, and the right tools. For example, tools designed to evaluate thermal profiles can save countless hours troubleshooting defects.
The Core Components You Need to Know
Figuring out how all the parts of a batch reflow oven work together can feel overwhelming. But break it into pieces, and it’s manageable. The heating chamber, cooling zones, convection heaters, and even simple things like exhaust systems all play a role in keeping your solder joints up to spec. And the settings? Preheat, soak time, peak temps – these all need to match your paste and PCB needs.
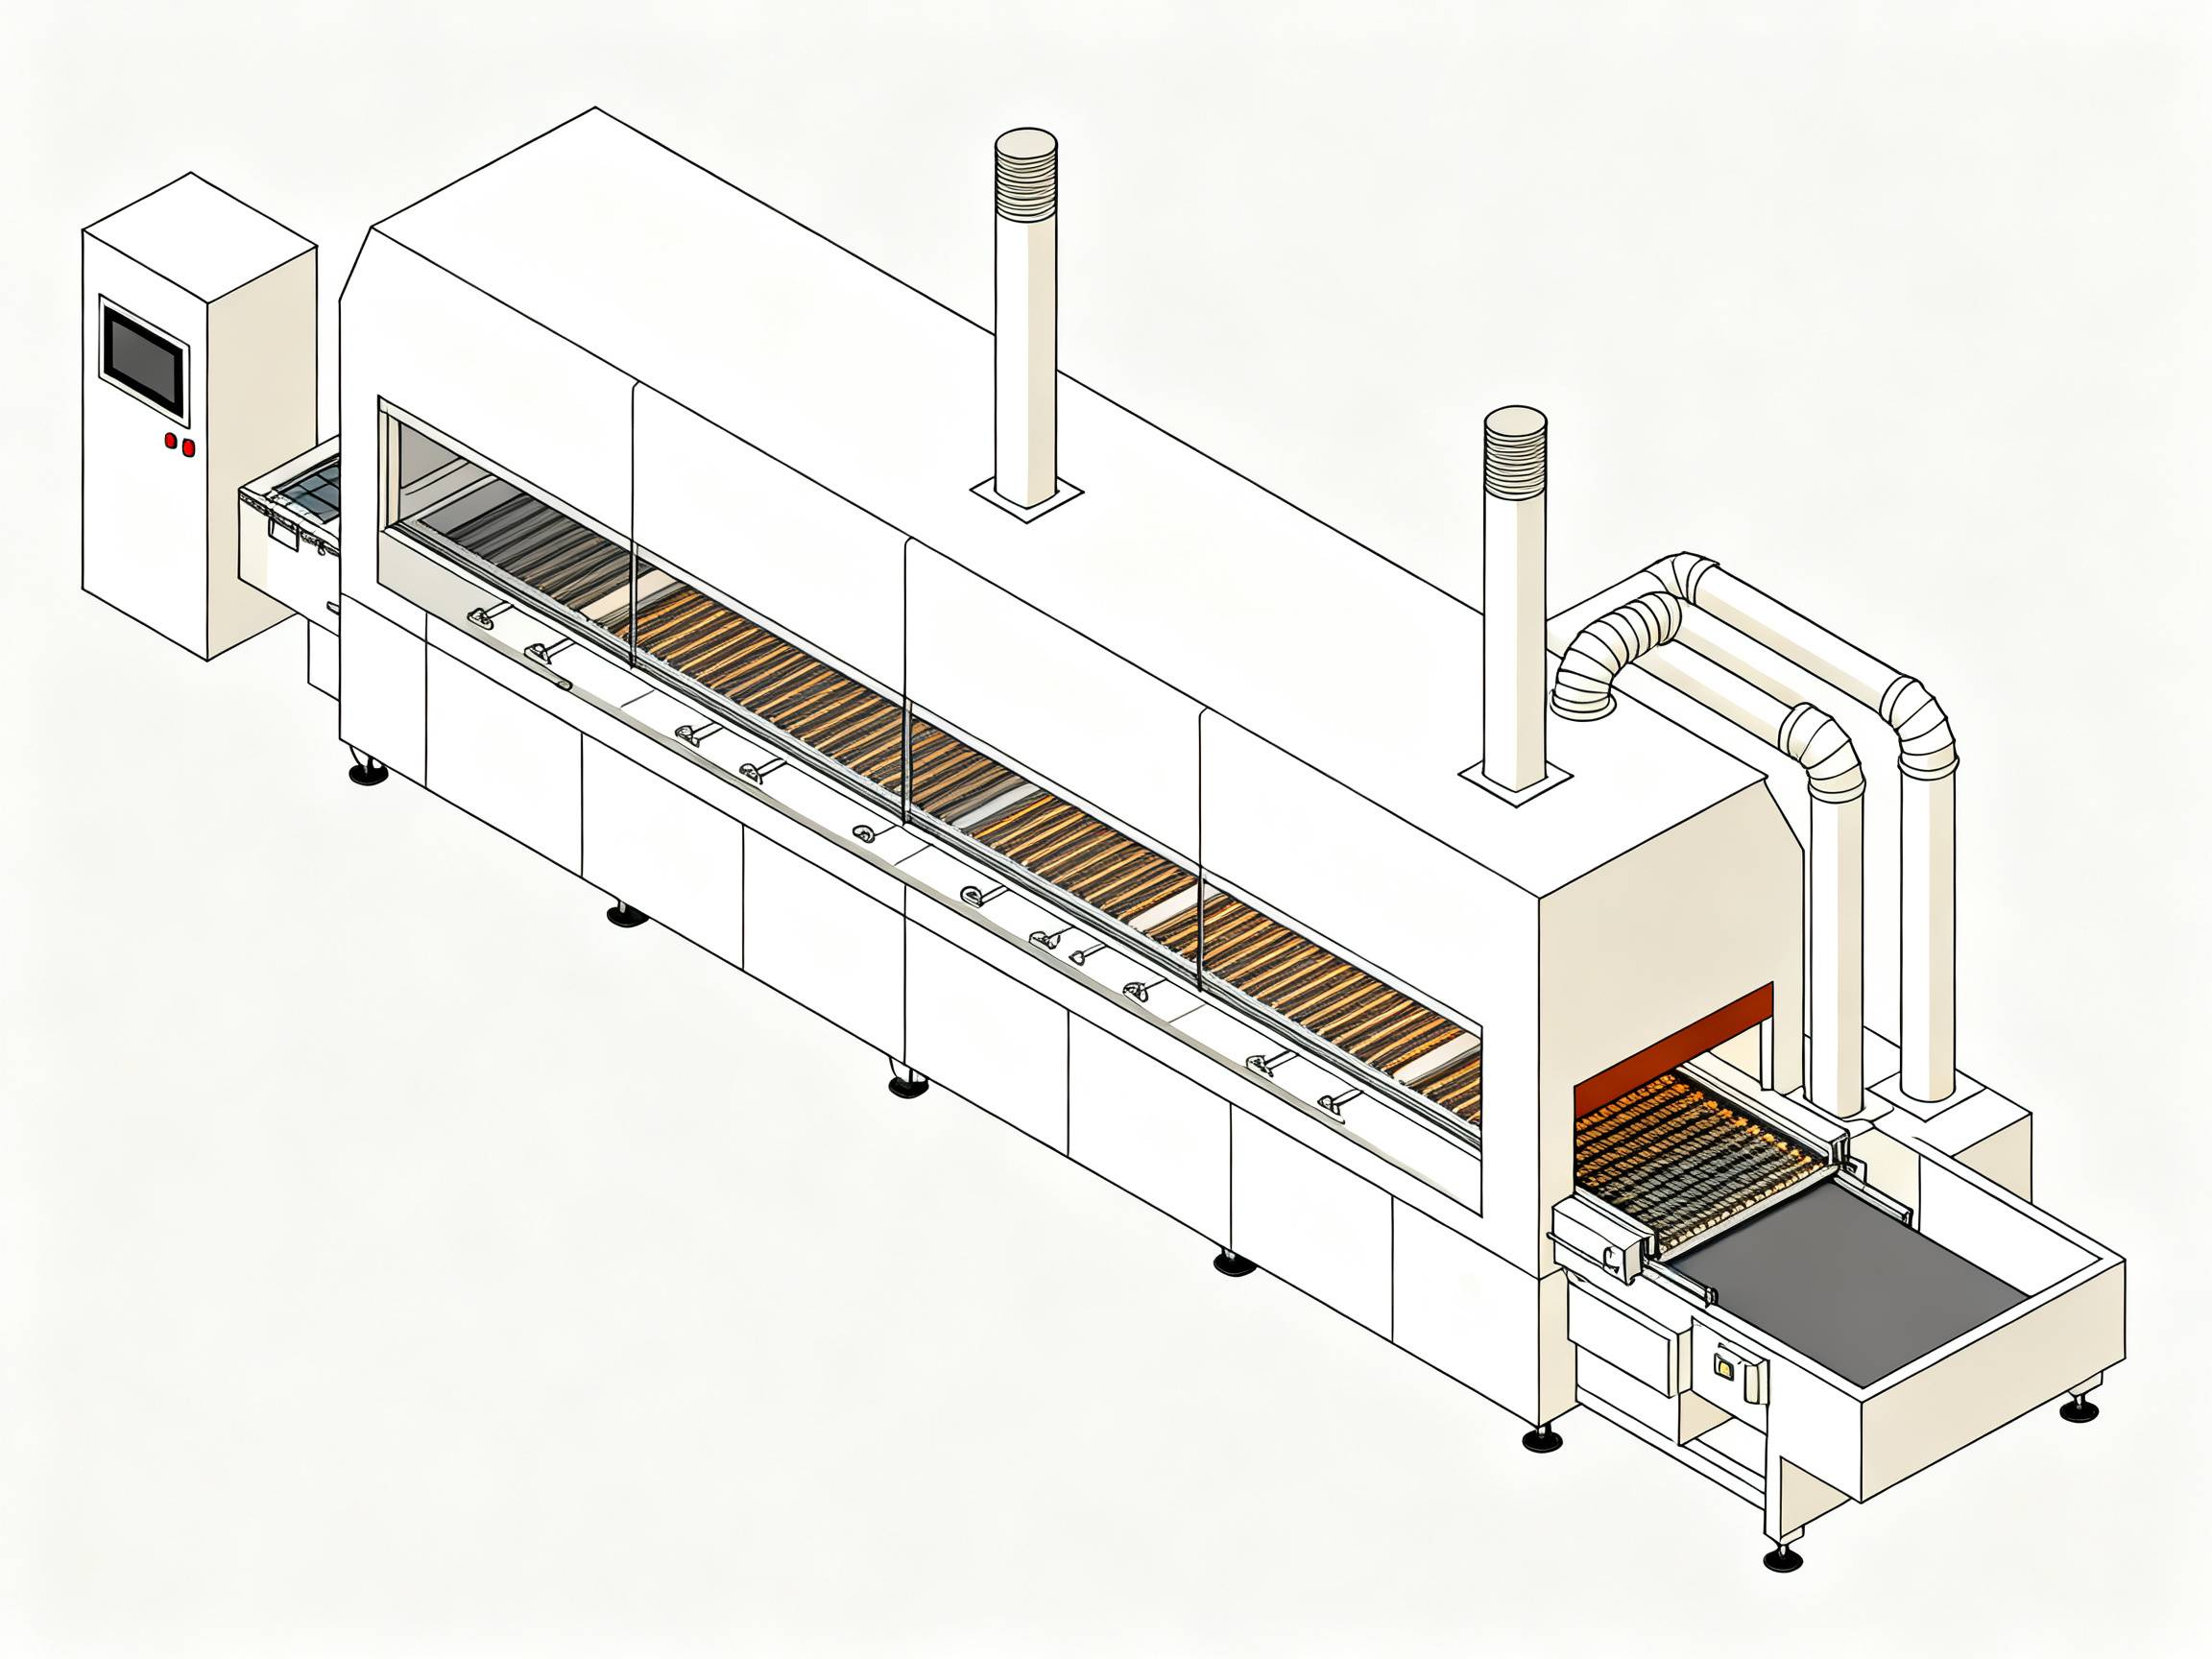
If that sounds like a lot, it is – but once you see the results of a perfectly set profile, all that slicing and dicing into zones makes sense.
Taking Calibration Seriously
Calibration might not be the most exciting talk in SMT, but anyone serious about reducing defects knows it’s critical. Verifying sensors, setting zones to specific temperatures, and fine-tuning conveyor speeds are all part of this. It’s tedious. But necessary. The payoff? Reduced failures and solid performance.
I’ve seen first-hand how dialing in these small details can make or break a production run. Regular checks – like, once a month or even weekly in higher volume runs – should be a non-negotiable part of your routine.
Expert Tip: How small adjustments in profiles affect yield quality could save you thousands in rework and materials. Every tweak matters.

Wrapping It Up
Running a batch reflow oven isn’t rocket science, but it’s not a hands-off job either. From figuring out your heating zones to cleaning up flux residue before it becomes an issue, there’s always something to optimize. And when you see your defect count drop? Totally worth the effort.
Understanding the Basics of Batch Reflow Oven Operation
Let’s break down how batch reflow ovens work so you can get a clear picture of their operation. Imagine a giant oven, but instead of baking cookies, it “bakes” your PCBs to perfection. The goal is to heat the solder paste on your circuit boards in a controlled way, so every connection bonds just right. Here’s how it all fits together:
- Preheating Zone: This is where your board gets warmed up. Preheating slowly brings the PCB and components up to temperature, which helps avoid thermal shock.
- Soak Zone: In this stage, the heat spreads evenly across your board, allowing the solder to reach the same temperature everywhere.
- Reflow Zone: This is the peak temperature phase. The solder melts and forms solid connections.
- Cooling Zone: Finally, the oven cools everything down to lock those solid connections in place.
Each zone needs precision in timing and temperature to hit the “Goldilocks zone” of soldering—not too hot, not too cold.
Expert Tip: How small adjustments in profiles affect yield quality could save you thousands in rework and materials. Every tweak matters.
Common Settings to Keep in Mind
When setting up your oven, mastering these terms will help:
- Temperature Profiles: These guide the PCB through different heating and cooling stages.
- Conveyor Speeds: Keep the balance between precision and production speed.
- Solder Paste Requirements: Your paste’s melting point shapes the thermal profile you’ll need.
Even a slight miscalculation in these can lead to defects like tombstoning or voids. In my experience, investing the time to adjust and verify these settings prevents endless frustration later.
Batch reflow ovens aren’t magic, but once you get the hang of the steps and settings, they start feeling like it.
How to Use and DIY Batch Reflow Oven Controllers
Let’s talk about controllers, the brains behind your batch reflow oven. If you’ve ever tinkered with electronics, you know how satisfying DIY projects can be. Same goes for oven controllers — adjust them right, and you can significantly improve performance while saving cash. Here’s how you can use and even upgrade or DIY your controller setup.
What Does a Controller Really Do?
The oven controller regulates temperature zones, conveyor movement, alarms, and timing. It’s the tech that ensures your PCB soldering process is smooth and consistent. Think of it as an autopilot for all those complex reflow settings.
But not all controllers are equally intuitive. Some older models may lack advanced features for profiling, while modern ones allow Wi-Fi management, data logging, and remote monitoring. If you’re ready to level up, there are plenty of DIY improvement opportunities.
Advanced Configurations for Better Results
Here’s where you can get creative. For those looking to go beyond factory settings, advanced configurations like custom thermal profiling can help refine your process even further. Whether it’s tweaking zone timing or increasing sensor sensitivity, modern controllers give you a lot of room for optimization.
Also, if your production line caters to various board sizes, consider adaptive programming. Some newer controllers can load pre-saved profiles tailored for different PCBs, minimizing guesswork.
DIY Upgrades You Can Try
Feeling adventurous? Here are some DIY improvement ideas:
- Add External Sensors: Use thermocouples for more precise readings during calibration.
- Install Data Logging Features: Track historical temperature zone outputs and trends.
- Automate Alarms: Set alerts for flux build-up or misaligned settings.
- Integrate Controller Boards: Raspberry Pi or Arduino can work as affordable alternatives for automated control.
I’ve upgraded controllers myself, and the simplest changes often make the biggest difference. Just make sure to test everything thoroughly. You don’t want an unexpected shutdown during production.
Pitfalls to Watch Out For
DIY projects always come with risks, right? With oven controllers, the biggest challenges are compatibility issues and electrical safety concerns. Improper wiring can cause erratic settings or even damage the oven’s heating system. Also, avoid making changes that void manufacturer warranties — it’s an expensive gamble if something goes wrong.
If you’re new to DIY, start small, like adding sensors. Once you’re comfortable, then you can attempt bigger projects.
Why Invest Time in Controllers?
Because they’re the heartbeat of your oven! A well-optimized controller helps reduce soldering defects, improves profiling accuracy, and keeps your production running smoothly. While factory settings may technically work, personalizing these settings pays off over time.
Whether you tweak your controller or go all in on DIY upgrades, the trick is balancing ambition with safety. And that instant boost in performance? Totally worth the effort.
How to Maintain and Troubleshoot Batch Reflow Oven Chillers
Batch reflow ovens rely on efficient chillers to maintain performance, especially during the cooling stage of the reflow process. A properly functioning chiller ensures consistent results, reduces wear and tear on other components, and keeps temperatures balanced for precision soldering. Without attention to this key part of the oven system, defects can creep in, wasting time and materials. So, let’s break down how chillers work, why they matter, and how to keep them running smoothly.
What Does a Chiller Do in Batch Reflow Systems?
Think of the chiller as the stabilizer for your machine’s cooling zone. After your PCB has passed through preheat, soak, and reflow stages, the cooling phase locks soldered connections in place. Chillers absorb the heat generated during this process, prevent overheating of sensitive parts, and support the oven’s thermal cycle stability.
Here’s a simplified view:
- Temperature Regulation: Avoid heat spikes that can cause incomplete solder joints.
- Component Protection: Keep internal oven parts safe from heat damage.
- Extended Equipment Life: Regular functioning chillers reduce stress on cooling systems, extending overall oven lifespan.
Signs Your Chiller Needs Help
No one likes surprise breakdowns. Catching early signs of malfunction can save you hassle and money down the line. Watch out for these:
- Loud Noises: Grinding or squealing sounds might mean worn-out parts.
- Temperature Fluctuations: If your oven isn’t cooling consistently, the chiller could be the issue.
- Leaks: Excess moisture or liquid pooling by the chiller system could signal pipe or seal damage.
- Unusual Power Usage: Spikes in electricity consumption are often tied to failing components.
Troubleshooting tip? Focus on the basics first – power supply checks, regular cleanups, and inspecting coolant levels for potential leaks.
Keeping Your Chiller in Top Shape
Preventive maintenance goes a long way with chillers, especially when production schedules are tight. Here are some maintenance ideas to keep your chiller humming along:
- Clean Filters and Condensers: Dust and debris can clog the system, impairing thermal regulation. Clean these once a month for better performance.
- Check Coolant Levels: Ensuring your coolant is topped off prevents heat absorption issues during operation.
- Inspect Seals and Pipes: Look for signs of wear or leaks. Replacing damaged seals promptly can save bigger repair bills later.
- Monitor Operating Temperatures: Use oven data logs to track how efficiently your chiller is functioning over time.
Pro Insight: Schedule professional deep cleaning and maintenance services annually to catch issues before they become emergencies.
Troubleshooting Chiller Problems
Even with regular upkeep, problems can still pop up. Here’s how you can address common issues:
- Power Failures: Check fuses, wiring, and the power source. Sometimes, these are easy fixes.
- Cooling Inefficiency: Test the coolant quality and flow. Dirty or insufficient coolant often causes sluggish cooling performance.
- Uneven Cooling: Inspect fans and ensure condensers are clean. Blockage here impacts airflow and leads to uneven results.
When troubleshooting fails, professional help is worth considering. Engineers and trained technicians can quickly isolate stubborn issues and suggest cost-effective repairs.
Why Chiller Health Matters
Neglecting a problematic chiller isn’t just bad for your batch oven, it could ruin your PCBs too. Poor cooling leads to defects like solder cracks or inconsistent joints, increasing waste and downtime. Keeping your chiller in peak condition reduces overall production headaches and maximizes equipment lifespan.
Whether you’re handling weekly inspections or scheduling professional cleaning services, every effort you make to maintain this unsung hero of your batch oven system will pay off in tighter soldering and lower production costs!