
Published: 26 May 2026
Reading Time: 12 minutes
Reviewer: Simon Scrapes, Founder
You know that “uh-oh” moment when your new tech toy doesn’t work right out of the box? Imagine that… but with thousands of circuit boards in a factory, and every mistake means wasted time and money. That’s the headache electronics manufacturers want to avoid, especially in 2026 where even the tiniest soldering issue can throw off a whole production run. Turns out, the humble reflow oven profiler is what keeps things from melting down (sometimes literally).
At Sun and Mountain SMT, we’ve seen companies go from fire-fighting ugly solder balls to barely needing to rework a single board just by getting serious about reflow oven temperature profiling. The difference is wild. What makes it so powerful? Truth is, in Surface Mount Technology (SMT) electronics assembly, you need a crystal-clear view of how heat cycles through your product. You can’t leave it to luck. That’s where reflow oven profilers, and precise temperature profile setups, step in to save your day.
So, what’s coming up? I’m breaking down what reflow oven profiling really means for 2026, why it matters in modern SMT lines, and how simple fixes (along with a bit of science) keep your solder joints strong. If you’re wrestling with awkward manual adjustments, mystery defects, or growing pressure to cut downtime while scaling up, you’re in the right place.
Simon Scrapes is the founder of Sun and Mountain SMT. He’s spent years on the manufacturing frontlines, working alongside engineers and production teams in Asia, North America, and beyond. Simon’s mission is helping companies master advanced assembly with the latest SMT solutions (and surviving more than a few late-night reflow oven emergencies himself).
Why SMT and Reflow Oven Profiling Matters in 2026
If you work in electronics, you already know SMT (Surface Mount Technology)… but maybe the reason we all obsess over temperature profiles isn’t as obvious until something goes wrong. Let’s hit some basics so everyone’s on the same page.
-
SMT in Electronics Manufacturing:
- Most gadgets (think smart watches, laptops, medical instruments) get built using SMT because it packs a lot of tiny components onto circuit boards fast. It’s the backbone of high-volume, automated assembly in 2026.
-
Why Reflow Oven Profiling Is a Big Deal:
- SMT only works if solder melts and cools in that “just right” window. Miss it by even 15°C or 20 seconds? You risk tombstoning, solder balls, cracks, and those legendary head-in-hands moments for your production team (see a visual walkthrough).
- A reflow oven profiler tracks actual temperature right on the board as it moves through the heat zones. Instead of crossing your fingers, you can see if your process hits the sweet spot at every step.
-
Key Terms You’ll See A Lot:
| Term | What It Means (in plain English) |
|——————————|———————————————–|
| Reflow Oven Profiler | A device & software combo that records temperature on a PCB through the oven |
| Temperature Profile | The heating and cooling “curve” mapped across time in the oven |
| Ramp Rate | How quickly board warms up (°C/second) |
| Soak | A gentle, longer heat-up to prep the board |
| Reflow/Peak | The hottest zone, where solder liquefies |
| Time Above Liquidus (TAL) | How long solder stays hot enough to melt |
| Cooling Rate | How fast temperature drops after peak |
Here’s the thing: not every line needs ultra-fancy AI profiling (yet). But every SMT line in 2026 relies on temperature profiling to avoid headaches and wasted money. Whether you’re running a new Sun and Mountain reflow system, adding a profiler to your old line, or just want fewer defects per batch, knowing these basics sets you up to win.
And next? We’ll tackle what an actual reflow oven temperature profile looks like, what happens during each phase, and how pros set up the right profile for their boards. Let’s roll up our sleeves.## Understanding the Reflow Oven Temperature Profile
Let’s make this simple. A reflow oven temperature profile is the heat story your PCB goes through from the moment it enters the oven to the second it comes out and cools down. If you only look at oven setpoints, you’re missing the real picture. What matters is the actual board temperature over time, and that’s exactly what a reflow oven profiler records.
So, what is a reflow oven? It’s a machine that heats solder paste until it melts, bonds components to the board, and then cools everything back down in a controlled way. And how does a reflow oven work? It moves the PCB through a string of heated zones, each one doing part of the job. Simple idea. Not always simple in real life.
We’ve seen lines that looked fine on paper but still kicked out boards with weak joints, dull solder, and random bridges. That’s why a good smt reflow oven profile matters so much in 2026. It helps you match heat to the solder paste, the board design, and the parts sitting on top. When that match is off, defects show up fast.
A reflow oven profiler helps you catch that early. You attach thermocouples to a real board, run it through the oven, and measure what happened, not what you hoped happened. According to KIC reflow profiling best practices, that measured profile is what lets engineers compare actual thermal results against process windows for solder paste and components.
Expert Tip: Precision in temperature control is not just a nice extra. A few degrees too high, or a few seconds too long above liquidus, can turn a healthy process into scrap.
The 4 main phases of a typical reflow temperature profile
Most reflow profile types follow four stages. The names can shift a bit from one factory to the next, but the flow stays pretty much the same.
| Phase | What happens | Typical target range |
|—|—|—|
| Preheat | Board warms up at a steady pace | About 1 to 3°C per second up to around 150°C |
| Soak | Heat spreads more evenly and flux gets active | Roughly 150 to 200°C |
| Reflow or Peak | Solder melts and forms the joint | Often about 230 to 250°C for lead-free |
| Cooling | Solder hardens into the final joint | Usually about 2 to 4°C per second |
1. Preheat
This is the gentle warm-up. The goal is to raise board temperature without shocking components. A rush here can crack ceramic parts or cause paste to behave badly. Too slow, though, and your line speed drags. That balance is a big part of any thermal profile for reflow soldering.
2. Soak
This is where temperatures across the board start to even out. Big ground planes, heavy connectors, and tiny passive parts all absorb heat differently, so soak helps reduce those gaps. It also gives flux time to do its job before peak heat hits.
I’ve seen this trip people up. They assume a hotter oven fixes everything. Actually, wait, there’s a better way. A smarter soak often solves more than just cranking up later zones.
3. Reflow or Peak
This is the money zone. The solder passes liquidus, melts, wets the pads, and makes the joint. For a lead-free solder reflow temperature profile, that usually means peak temps in the 230°C to 250°C area, with time above liquidus often landing around 45 to 90 seconds based on paste and assembly design. If your oven reflow temperature runs too low, you may get cold joints or poor wetting. Too high, and parts can discolor, warp, or fail.
4. Cooling
Cooling sounds boring. It’s not. Cooling rate shapes the grain structure of the solder joint and can affect long-term reliability. Too fast can stress parts. Too slow can hurt joint quality. This last phase is a quiet troublemaker.
Reflow profile explanation, what good looks like
A healthy reflow oven temp profile is not just one that reaches peak. It has to stay inside a process window from start to finish. That means looking at:
- ramp rate
- soak time
- peak temperature
- time above liquidus, often called TAL
- cooling rate
- temperature spread across the board
In plain English, a good profile heats the board evenly, melts solder fully, and cools without drama. That’s the goal. No heroics needed.
And this is where board design really matters. A slim LED board and a thick telecom board won’t want the same profile. Not even close. We’ve worked with production teams who moved a proven recipe from one product to another and got burned, sometimes literally by browned flux residue. Each assembly needs its own reflow profile explanation tied to real thermal mass.
Common reflow oven profile types
You’ll hear a few names tossed around when people talk about reflow oven profile types. Here are the ones that come up most often.
Ramp-to-peak profile
This style keeps the board climbing steadily until reflow. It can work well for some solder pastes and simpler board builds. It’s usually faster, but it gives you less time for thermal equalization.
Ramp-soak-spike profile
This is one of the most common setups for SMT profile reflow work. The board ramps up, sits in a soak zone, then heads into peak. It’s often a safer fit for mixed-component boards because it helps even out temperatures before solder melts.
Straight soak profile
Less common, but still used in some cases. This approach spends more time holding in the soak region. It may help with tough thermal imbalances, though it can also stress flux performance if overdone.
Custom profile by board family
Honestly, this is where a lot of modern factories land in 2026. Not one universal recipe, but profile families based on product type, copper mass, paste, and component mix. If you run high-mix production, this usually makes more sense than forcing every board into one typical reflow temperature profile.
Here’s a quick comparison:
| Reflow profile type | Best fit | Watch out for |
|—|—|—|
| Ramp-to-peak | Simple boards, faster cycles | Uneven heating on dense builds |
| Ramp-soak-spike | Mixed assemblies, general SMT use | Longer tuning time |
| Straight soak | Boards with heavy thermal mass gaps | Flux may get tired if soak is too long |
| Custom family profile | High-mix, higher quality needs | More setup and validation work |
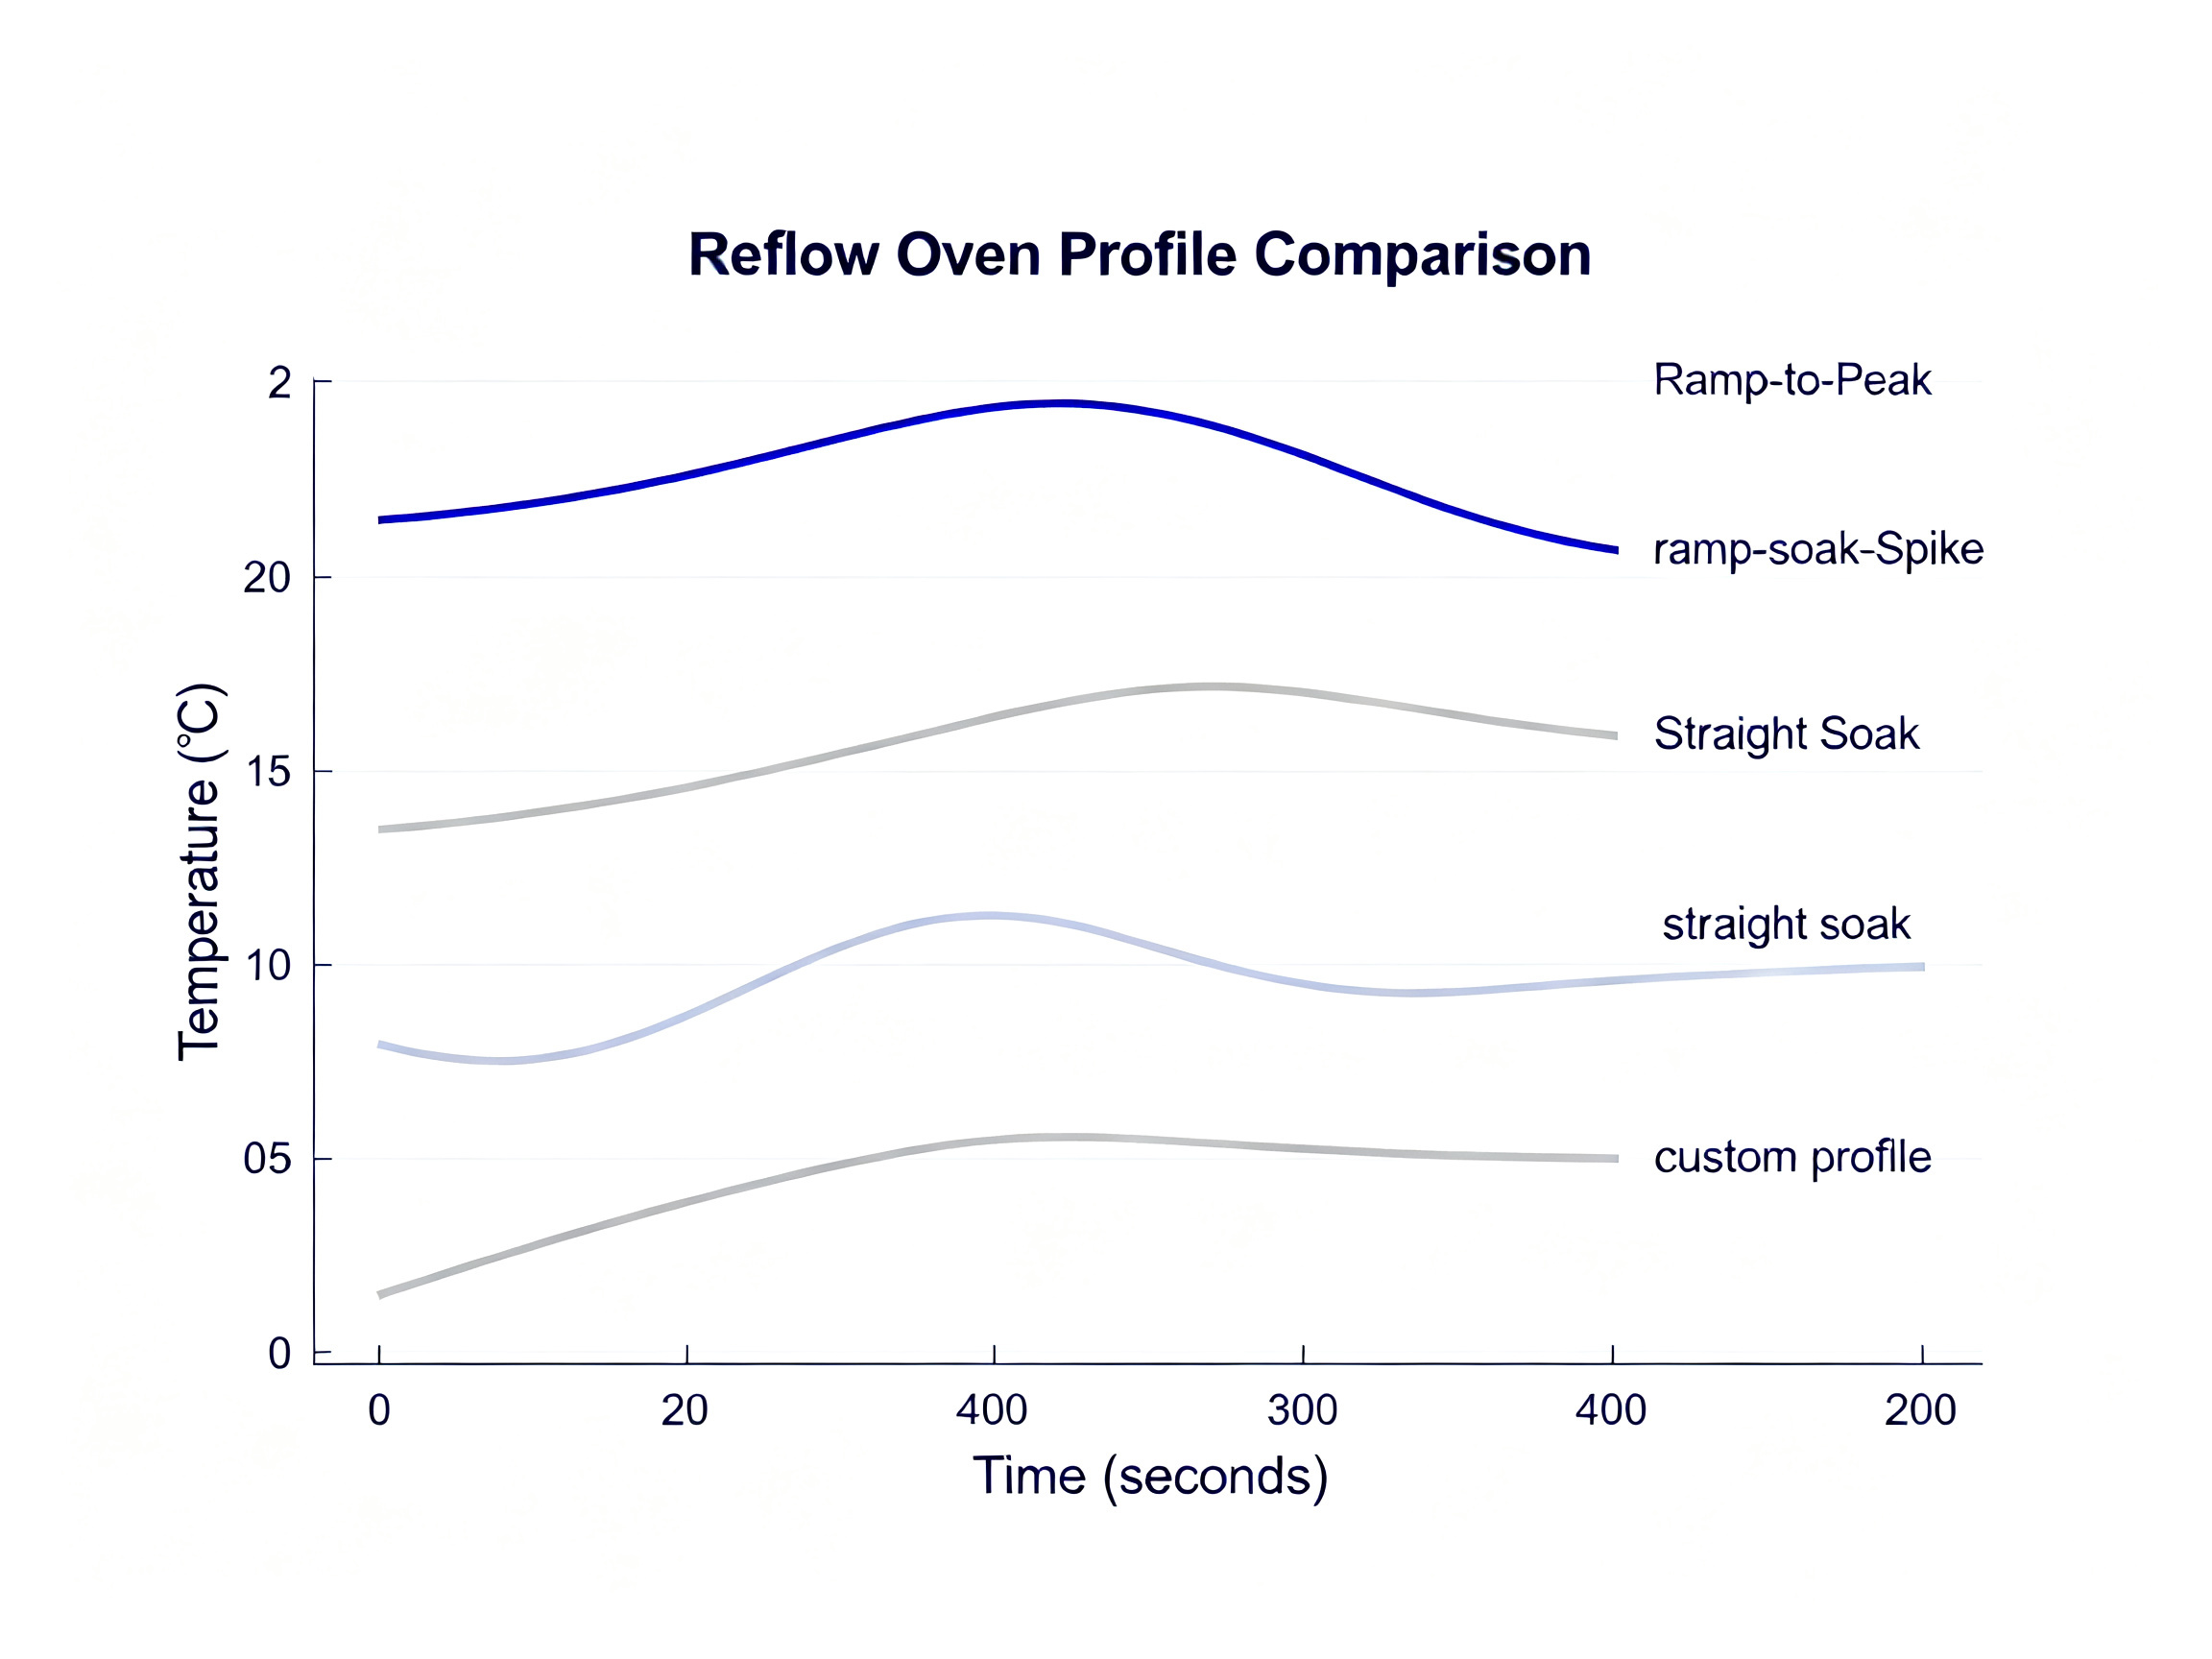
If you’re using a modern Sun and Mountain SMT line, this is where recipe control can really help. Precise zone tuning and repeatable conveyor settings make it much easier to build profile libraries instead of starting from zero every time.
Why this matters before you even start setting the oven
Look, I get it. People want to jump straight into how to set reflow oven profile values. But if you don’t first understand the shape and purpose of the reflow soldering temperature profile, setup turns into guesswork with nicer software.
Before changing a single zone, you should know:
- the solder paste target window
- the hottest safe temp for sensitive parts
- the board’s thermal mass
- whether you need a ramp-soak-spike or another profile style
- what a pass or fail result will look like
That prep work saves hours. Sometimes days.
Next, we’ll get into how to set reflow oven profile parameters in a real production environment, from choosing start points to adjusting conveyor speed, airflow, and zone temperatures without chasing your tail.
Setting Up the Reflow Oven Profile: Step-by-Step
Alright, you’ve got the theory down—now it’s time to get your hands dirty. Setting up a smt reflow oven profile in 2026 isn’t pure guesswork (unless you like chasing problems all week). It’s a methodical process, but trust me, every production manager I know dreads the first run on a new board. Been there too many times.
Here’s how setting that reflow oven temperature profile usually goes, start to finish:
1. Gather Your Process Specs
Start by grabbing these:
- Solder paste datasheet (see the actual Time Above Liquidus and peak temperature limits; don’t eyeball)
- Board design details—like copper thickness, component heights, sensitive part specs
- Product family notes if you’re running high-mix lines (Sun and Mountain SMT’s line-up really shines here with recipe libraries)
2. Prep Your Tools & Software
You’ll need:
- A good thermal profiler/data logger, usually with Type K thermocouples
- Oven profile software (most modern ovens, like Sun and Mountain’s, have intuitive interfaces now)
- Test or ‘golden’ board, with thermocouples attached at key points (under BGAs, big connectors, corners, etc.)
If you’re using Sun and Mountain gear, take a second to check if your oven supports zone-by-zone adjustment. Makes your tweaks way easier.
3. Set Initial Zone Temperatures & Conveyor Speed
You won’t nail it on the first try, and anyone who claims they do is probably hiding something! Start with safe, low-ish setpoints from the paste datasheet and bump up gently if you see cold joints or incomplete melting. Adjust conveyor speed so you give the board enough time above liquidus. Typical speeds for most assemblies in 2026 are in the 65–110 cm/min range, but dense or thick boards might want it slower.
4. Attach the Thermocouples (the Right Way)
This step gets rushed and…bad call. If you tack the thermocouple with a weak tape job, you’ll measure air, not board temp! Use high-temp solder, aluminum tape, or epoxy meant for profiling. Always double-check placement.
5. Run a Heated Test—Check Your Curve
Run the profile board through. Eyes on the software screen! You’re looking for:
- Uniform ramp rate (1–3°C/s in preheat)
- Soak duration stability (boards should hit soak for 60–120 seconds usually)
- Peak temp that matches, but doesn’t exceed, datasheet spec
- Time Above Liquidus (TAL)—should hit target window, like 45–90 seconds for lead-free
- Smooth, even cooling—no sharp drops
If the curve swings wild, don’t panic. That’s normal at first.
6. Tweak, Rerun, and Validate
This is the loop: Adjust a zone. Rerun the board. Check if TAL, peak, and ramp all fit your “safe” windows. Rinse and repeat.
And don’t forget—different assemblies need slightly different setup priorities. When we work with high-copper-mass telecom boards, we space thermocouples not just by region, but by copper distribution. Saves a ton of headache.
Pro Insight: For accurate measurement, invest in a profiler that supports multi-point data capture. It helps you detect zone-to-zone inconsistencies quickly (see a breakdown of tools).
7. Record, Save, and Back Up Your Recipe
Don’t skip this. Once you have a working reflow oven temp profile, save it—not just for daily runs but as a safety net for troubleshooting. Modern SMT ovens, like Sun and Mountain’s systems, let you save libraries of profiles. Great for high-mix and repeat builds. If the system lets you password-lock recipes, use it! Keeps good setups safe from accidental changes.
What Factors Make or Break Your Setup?
- Paste Chemistry: Some pastes are forgiving, others are divas. Read the datasheet every time you swap brands.
- Component Sensitivity: Big chips handle heat better than tiny diodes. Watch your most fragile device!
- PCB Size & Copper Mass: Thicker, heavy-copper boards absorb heat slower.
- Oven Uniformity: Old or poorly tuned ovens give uneven temps zone-to-zone.
- Airflow & Convection: If your SMT oven offers adjustable airflow, try tuning it; turbulence means temperature fluctuations.
We once set up a perfect-looking profile, only to find the left side of the conveyor was roasting and the right side ran cold. Turns out, a loose air baffle caused a 23°C variation. Easy fix after a profile test, but wild to find by accident.
Must-Have Tools for Profile Setup in 2026
| Tool | Why It Matters |
|————————|——————————————————————-|
| Thermal Profiler | Measures real board temp, not just oven air |
| Type K Thermocouples | Attach to key spots; record time/temp data |
| Profiling Board | Mimics real products for accurate testing |
| Oven Recipe Software | Real-time tuning, saves profiles, tracks changes |
| Data Logger/Analyzer | Visualizes ramp, soak, peak, and cooling; checks against spec |
Many production teams also use mobile apps or cloud backups to keep records. And if your plant is big, digital backups save you from rework after a crash.
If setting up a profile sounds overwhelming, don’t worry—every engineer messes up a first run or gets surprised by a stray temperature sensor at some point. It’s all part of getting the best out of your gear. The key is to go step-by-step, use the right setup tools, and adjust with data (not just “gut feel”).
Next, let’s actually measure a profile and see how you know when things are working—or not.
Measuring and Validating the Temperature Profile
Time for the real test. Setting up a reflow oven profiler is just the beginning—what matters is whether your boards are getting the right heat at the right time, every single run. Now, let’s get into how to measure and validate those profiles so you actually know where you stand.
Techniques for Accurate Temperature Measurement
First step: attach thermocouples to your board. Real ones, not the cheap knock-offs. Placement is key. Target under critical parts—like BGAs, connectors, or any component that tends to act up in real life. Use aluminum tape, profiling epoxy, or high-temp solder to make sure the sensor actually touches the PCB. If you’re not sure, ask yourself: would you trust this sensor for a $10,000 batch of boards?
Once placed, run your profiler (we use Sun and Mountain’s logger for multi-point data). The profiler collects data as your board moves through the oven. Watch the live curve! You’re looking for:
- Smooth ramp up to preheat (about 1–3°C/s)
- Steady soak (flat or gentle slope)
- Peak where all points hit, but don’t overshoot, your solder paste’s specs
- Consistent time above liquidus (often 45–90 seconds)
- Slow and steady cooling: not too fast or too slow
Any wild swings, lags, or sudden drops? Pause and figure out if it’s a sensor issue or actual oven trouble. Sometimes it’s a loose wire, sometimes it’s airflow trouble. If you’re like me, you’ll have chased ghost readings for hours before finding a bad cable.
Equipment Used for Validation
Let’s get practical. Here’s what you’ll need:
| Equipment | Purpose |
|————————–|—————————————————–|
| Type K Thermocouples | Measures board temperature in real time |
| Thermal Profiler/Data Logger | Records, plots, and analyzes the heat curve |
| Profiling Software | Compares curve with process window |
| Profiling Board | Mimics product geometry for real-world tracking |
The best profiling setups in 2026 (like Sun and Mountain’s) let you save recipes, export curves, and run pass/fail analytics right in software. Plus, for big factories, cloud backups let you track trends and troubleshoot remotely. These tools aren’t fancy extras—they’re what separates reliable runs from costly surprises.
Pro Insight: For accurate measurement, invest in a profiler that supports multi-point data capture. It helps you detect zone-to-zone inconsistencies quickly (see a breakdown of tools).
Another tip: keep your setup consistent. Use the same board spots every test, and don’t skip calibration. Regular calibration (every few months) is a must. Otherwise, you risk chasing the wrong error.
Standards for Maintaining Consistent Profiles
How do you know your measurements are “good enough”? Easy—stick with proven standards. Most factories in 2026 compare profiles to IPC-7530 and IPC/JEDEC J-STD-020 requirements. That means checking:
- Peak temperature stays below max component limits
- Ramp rates don’t shock fragile parts
- Time above liquidus hits the right patch for solder paste (but not too long)
- Temperature spread between thermocouple locations stays tight
- Slope limits (nothing crazy sudden)
Here’s a quick checklist:
| Standard / Target | Typical Spec |
|————————–|————————————|
| Peak Temp | 230–250°C (lead-free) |
| Ramp Rate | 1–3°C/s |
| Soak Duration | 60–120 seconds |
| Time Above Liquidus (TAL)| 45–90 seconds |
| Cooling Rate | 2–4°C/s |
| Temp Spread Board-to-Board| <10°C |
A profile curve that fits these is usually golden. If temps drift or TAL jumps, that’s your signal to re-tune the oven. And if defects creep in (like tombstones or cold joints), cross-check your recorded profiles with the defect location. One batch, one change, one result.
Real-Life Validation: Experience Matters
Honestly, validation is a team sport. I remember having a batch with wild cold spots, only to find that our profiling board had a dodgy thermocouple solder joint. Turns out, 2026 still has room for old-school troubleshooting. Once we fixed the joint, the profile made sense, and our yields returned to normal.
If you ever get stuck, test with two profilers side by side. A second setup catches weird sensor drift before it ruins production. Yes, it’s extra work, but it’s worth it. And when your whole factory relies on clean joints and minimal downtime? It’s a small price.
So, measuring and validating is about more than numbers. It’s your insurance against mistakes and your ticket to reliable, scalable SMT lines. Next, we’ll get into what happens when things don’t go to plan… and how to troubleshoot common profile-related headaches.
Future Trends in Reflow Oven Profiling
Alright, time to look ahead. Reflow oven profiling in 2026 isn’t done evolving, not by a long shot. The old days of endless trial-and-error in the oven are fading fast, and technology is finally taking on the heavy lifting when it comes to getting profiles right, fast.
Smarter Profiling: Where Are We Headed?
Factories today expect more than just a chart of temperature points. As pressure ramps up—from tighter product launch windows, stricter quality standards, and demand for greener manufacturing—manufacturers need to make quick, data-based choices.
Here’s what we’re seeing right now, and what’s dropping soon:
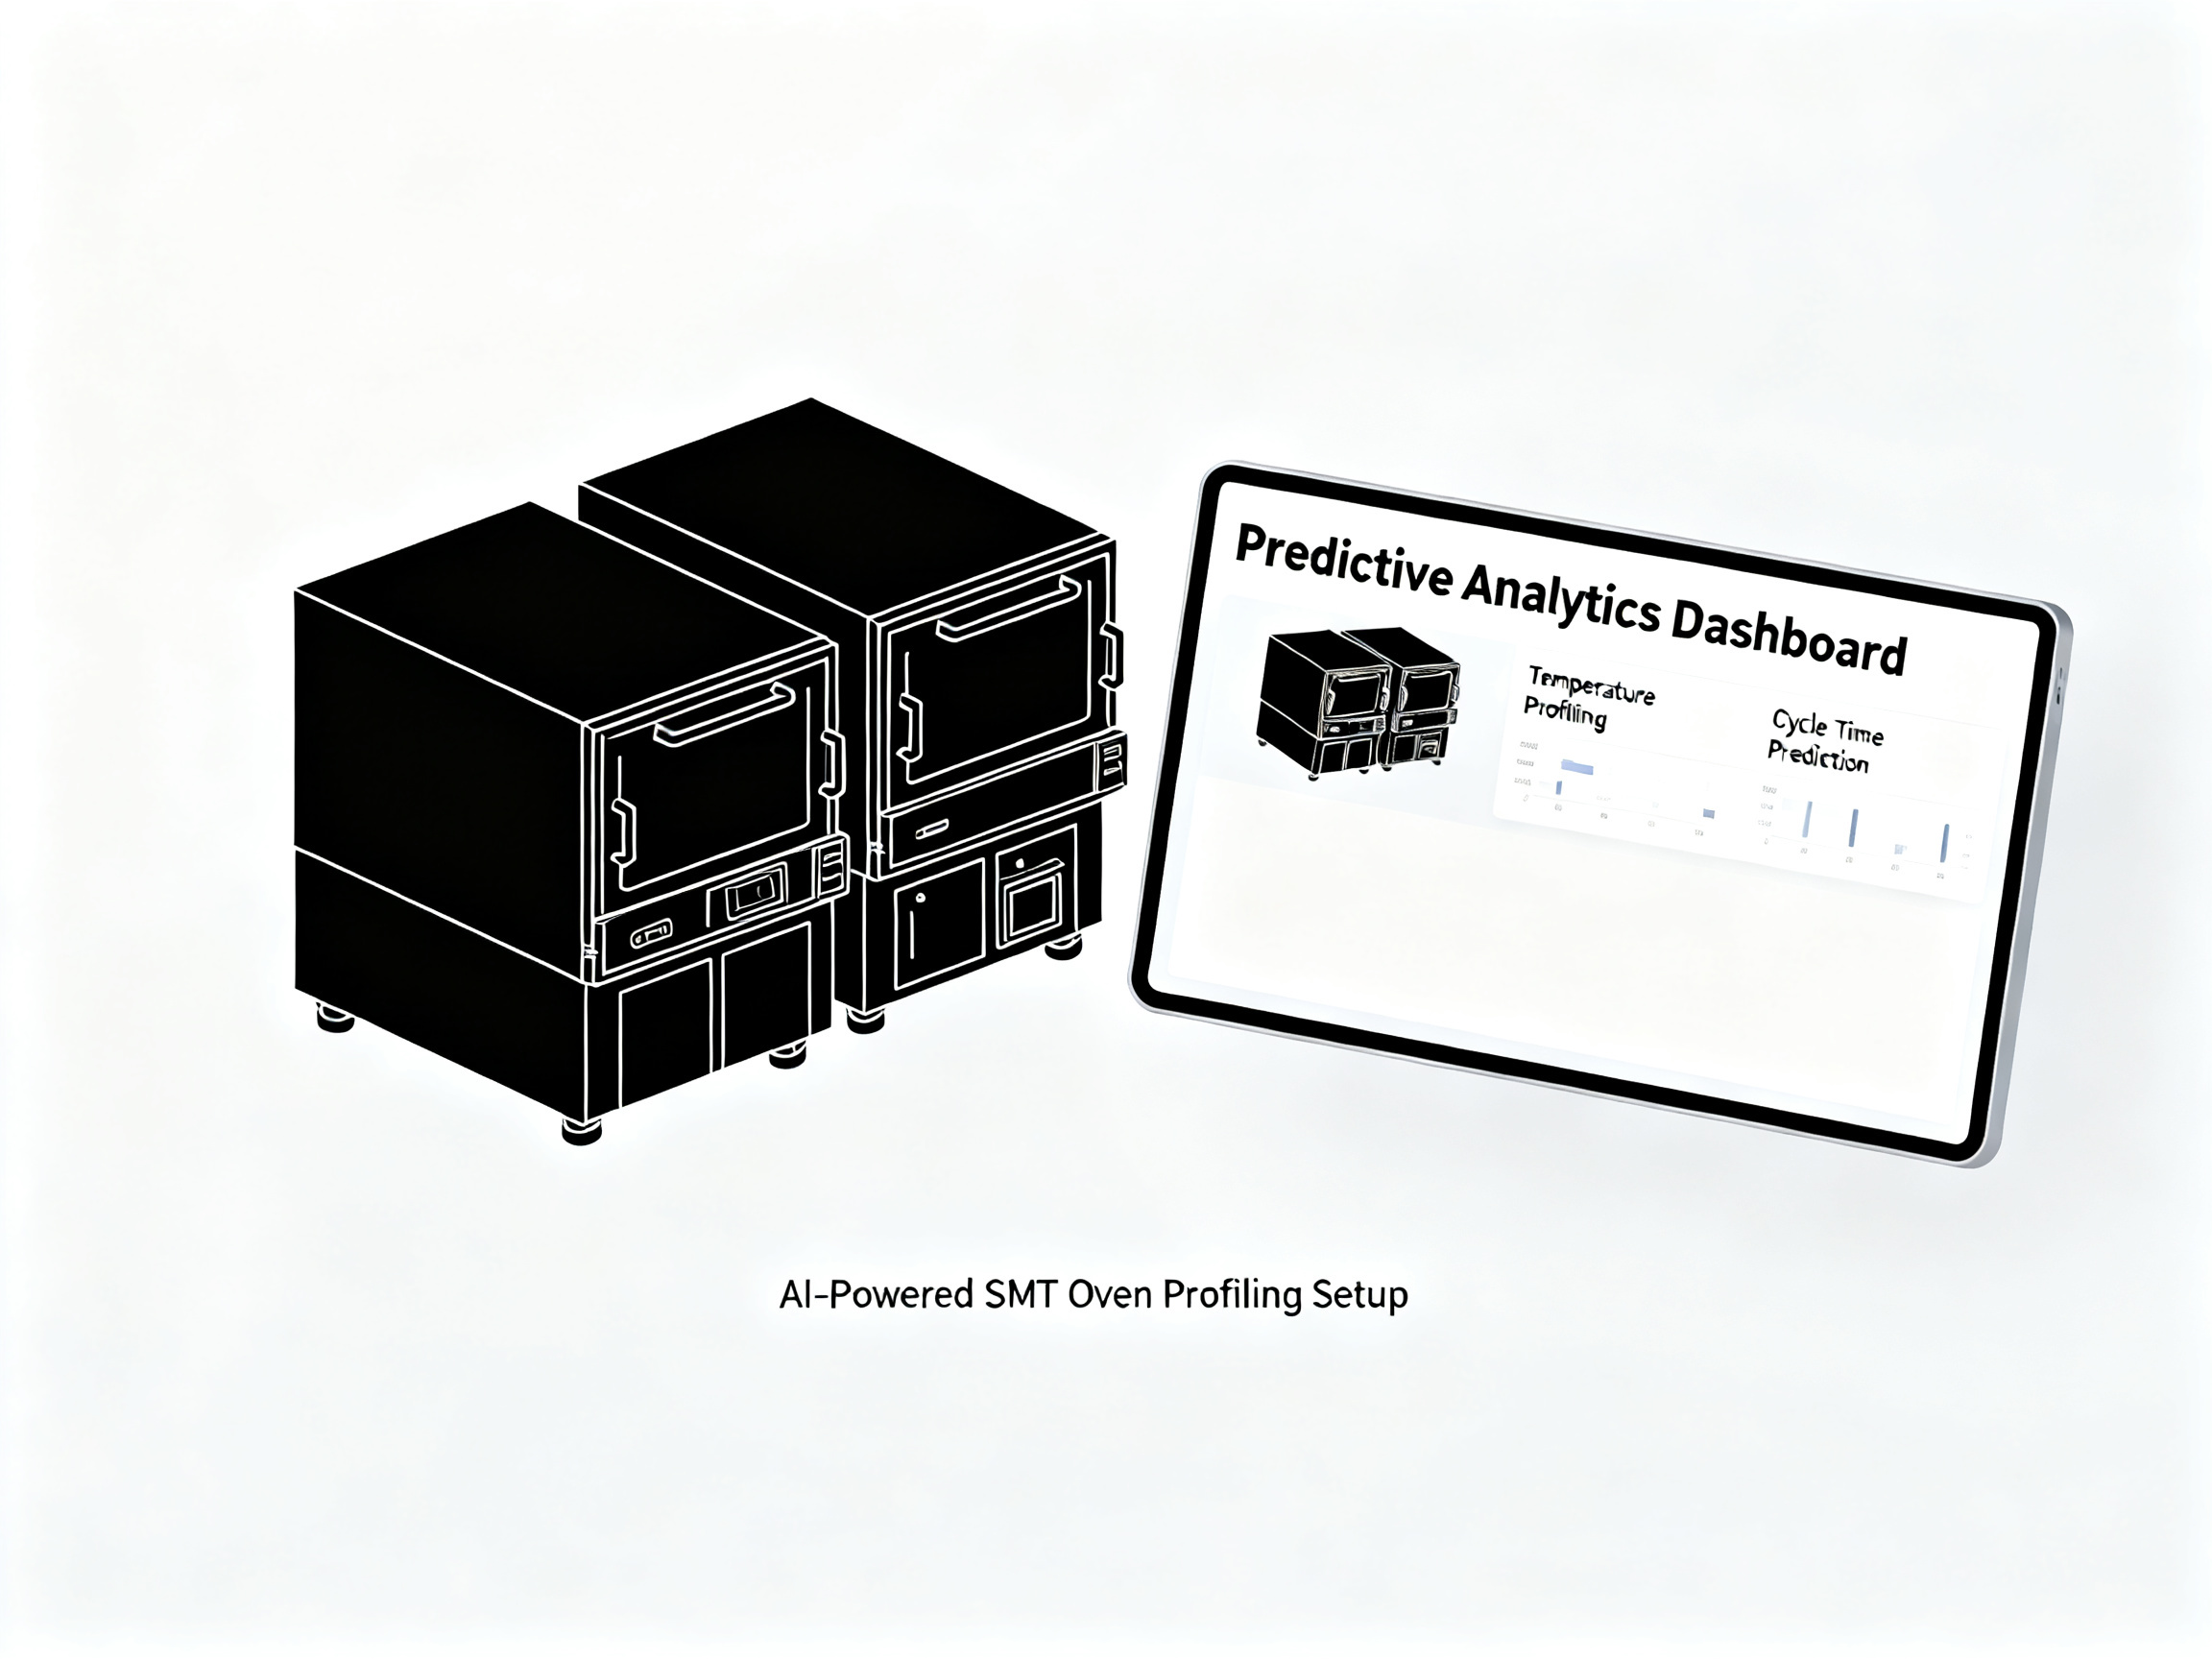
- Automated Profile Optimization: AI engines are getting trained on mountains of past profile data. Instead of the old tweak and test, many ovens can now suggest or auto-set initial parameters based on real-time feedback. This cuts tuning time by hours or even days.
- Predictive Adjustments: Machine learning watches the results of every run and flags possible trends—like oven drift or a zone that needs recalibration—before defects show up. Sometimes, you find out about a cooling fan issue before a single scrap board is made. How cool is that?
- Integration with Factory Systems: Profilers aren’t islands anymore. They’re linking up with manufacturing execution systems (MES) to keep yield, throughput, and quality numbers in sync, all while the cloud crunches your analytics (see how AI is changing reflow profiling).
Expert Tip: Expect AI-driven profiling to keep growing. Predictive analytics, recipe recommendations, and fast diagnostics are making troubleshooting easier—even for smaller production teams.
Real-World Impact for SMT Lines
What does all this mean for someone actually running an SMT line with Sun and Mountain machines? Less hair-pulling. For mid-scale factories, that means a rookie tech can set up a reliable reflow oven temperature profile with way less trial-and-error, making scale-ups smoother and cheaper. For engineers who’ve been burned by downtime, predictive alarms and smart tweaks get you back online before small problems snowball.
A few new tools Sun and Mountain customers are asking about in 2026:
- Cloud-Connected Profilers: All profiles and recipes backed up online. Grab data from your phone, tweak settings, and avoid recipe loss after a crash.
- Energy-Smart Profiling: New ovens are adding energy optimization—think less wasted power and lower bills without risking joint quality.
- Automated Traceability: With new validation standards, OEMs want to link each profile to serial numbers for full production traceability if a field failure report comes back.
What’s Next? A Few Predictions for 2026 Onward
- AI-driven reflow profiling will only get smarter. Expect systems that tweak themselves for yield, speed, and sustainability—sometimes all at once.
- MES integration and data lake connections will be everywhere. If your shop doesn’t already have a cloud dashboard, it probably will by 2027.
- Energy-efficient tuning (sometimes auto-negotiated based on utility rates) could become a default for big EMS companies.
- Even small shops will have access to advanced profiling features as costs drop and “smart” options show up in entry-level ovens.
Honestly, the best advice is: don’t be afraid to upgrade your workflows if your current process is eating up time or budget. The old “gut feel and hope” approach is giving way to something faster, smarter, and kinder to your bottom line.
Expert Tip: Watch for platforms that let you share and compare reflow profiles across sites or brands. The crowd-sourced “best fit” profile may soon be just a click away.
If you’re ready to leap ahead or have a laundry list of questions about upgrading your SMT lines, Sun and Mountain specializes in building future-proofed solutions—seriously, drop them a note to see what features are rolling out next. There’s always another game-changing update in the pipeline when tech is moving this fast.