
Published: 26 May 2026
Reading Time: 8 minutes
Reviewer: Simon Scrapes, Founder
You know that feeling when something just clicks in your latest DIY electronics project? Maybe you’ve been soldering components by hand for ages, and then you read about how people are reflowing PCBs using old toaster ovens they snagged for twenty bucks. Like, wait – you can really do that at home? Sounds a little wild. But actually, it’s made a huge difference for hobbyists and small businesses trying to keep costs down. I’ll admit, the first time I tried it, I was a little nervous picturing a kitchen fire instead of a shiny, finished board (spoiler: it worked, but my kitchen smelled like flux for a week).
Thing is, reflow ovens aren’t just for giant production lines. These days, more people are building their own reflow oven setups at home or in small shops to tackle everything from prototypes to small batch runs. Saves time. Feels pro. Actually, it can even be kind of fun, once you figure out the basics!
But here’s the catch: not all DIY reflow ovens are the same, and turning a toaster oven into a reflow workhorse has its headaches. You’ve got to pick the right parts, think through safety, and set profiles that match your solder paste (or it’s just a risky science experiment). Plus, you’ll need to decide if you want to stay DIY or step up to something more industrial as your projects grow. Let’s break down how it all works in 2026 – and what to watch for, so you get good results instead of burnt toast.
Simon Scrapes is a seasoned electronics technician with over 10 years of experience in designing and optimizing reflow oven systems. Passionate about DIY electronics projects, he has guided hundreds of enthusiasts through various challenges, helping them integrate efficient solutions into their projects.
Introduction to DIY Reflow Ovens
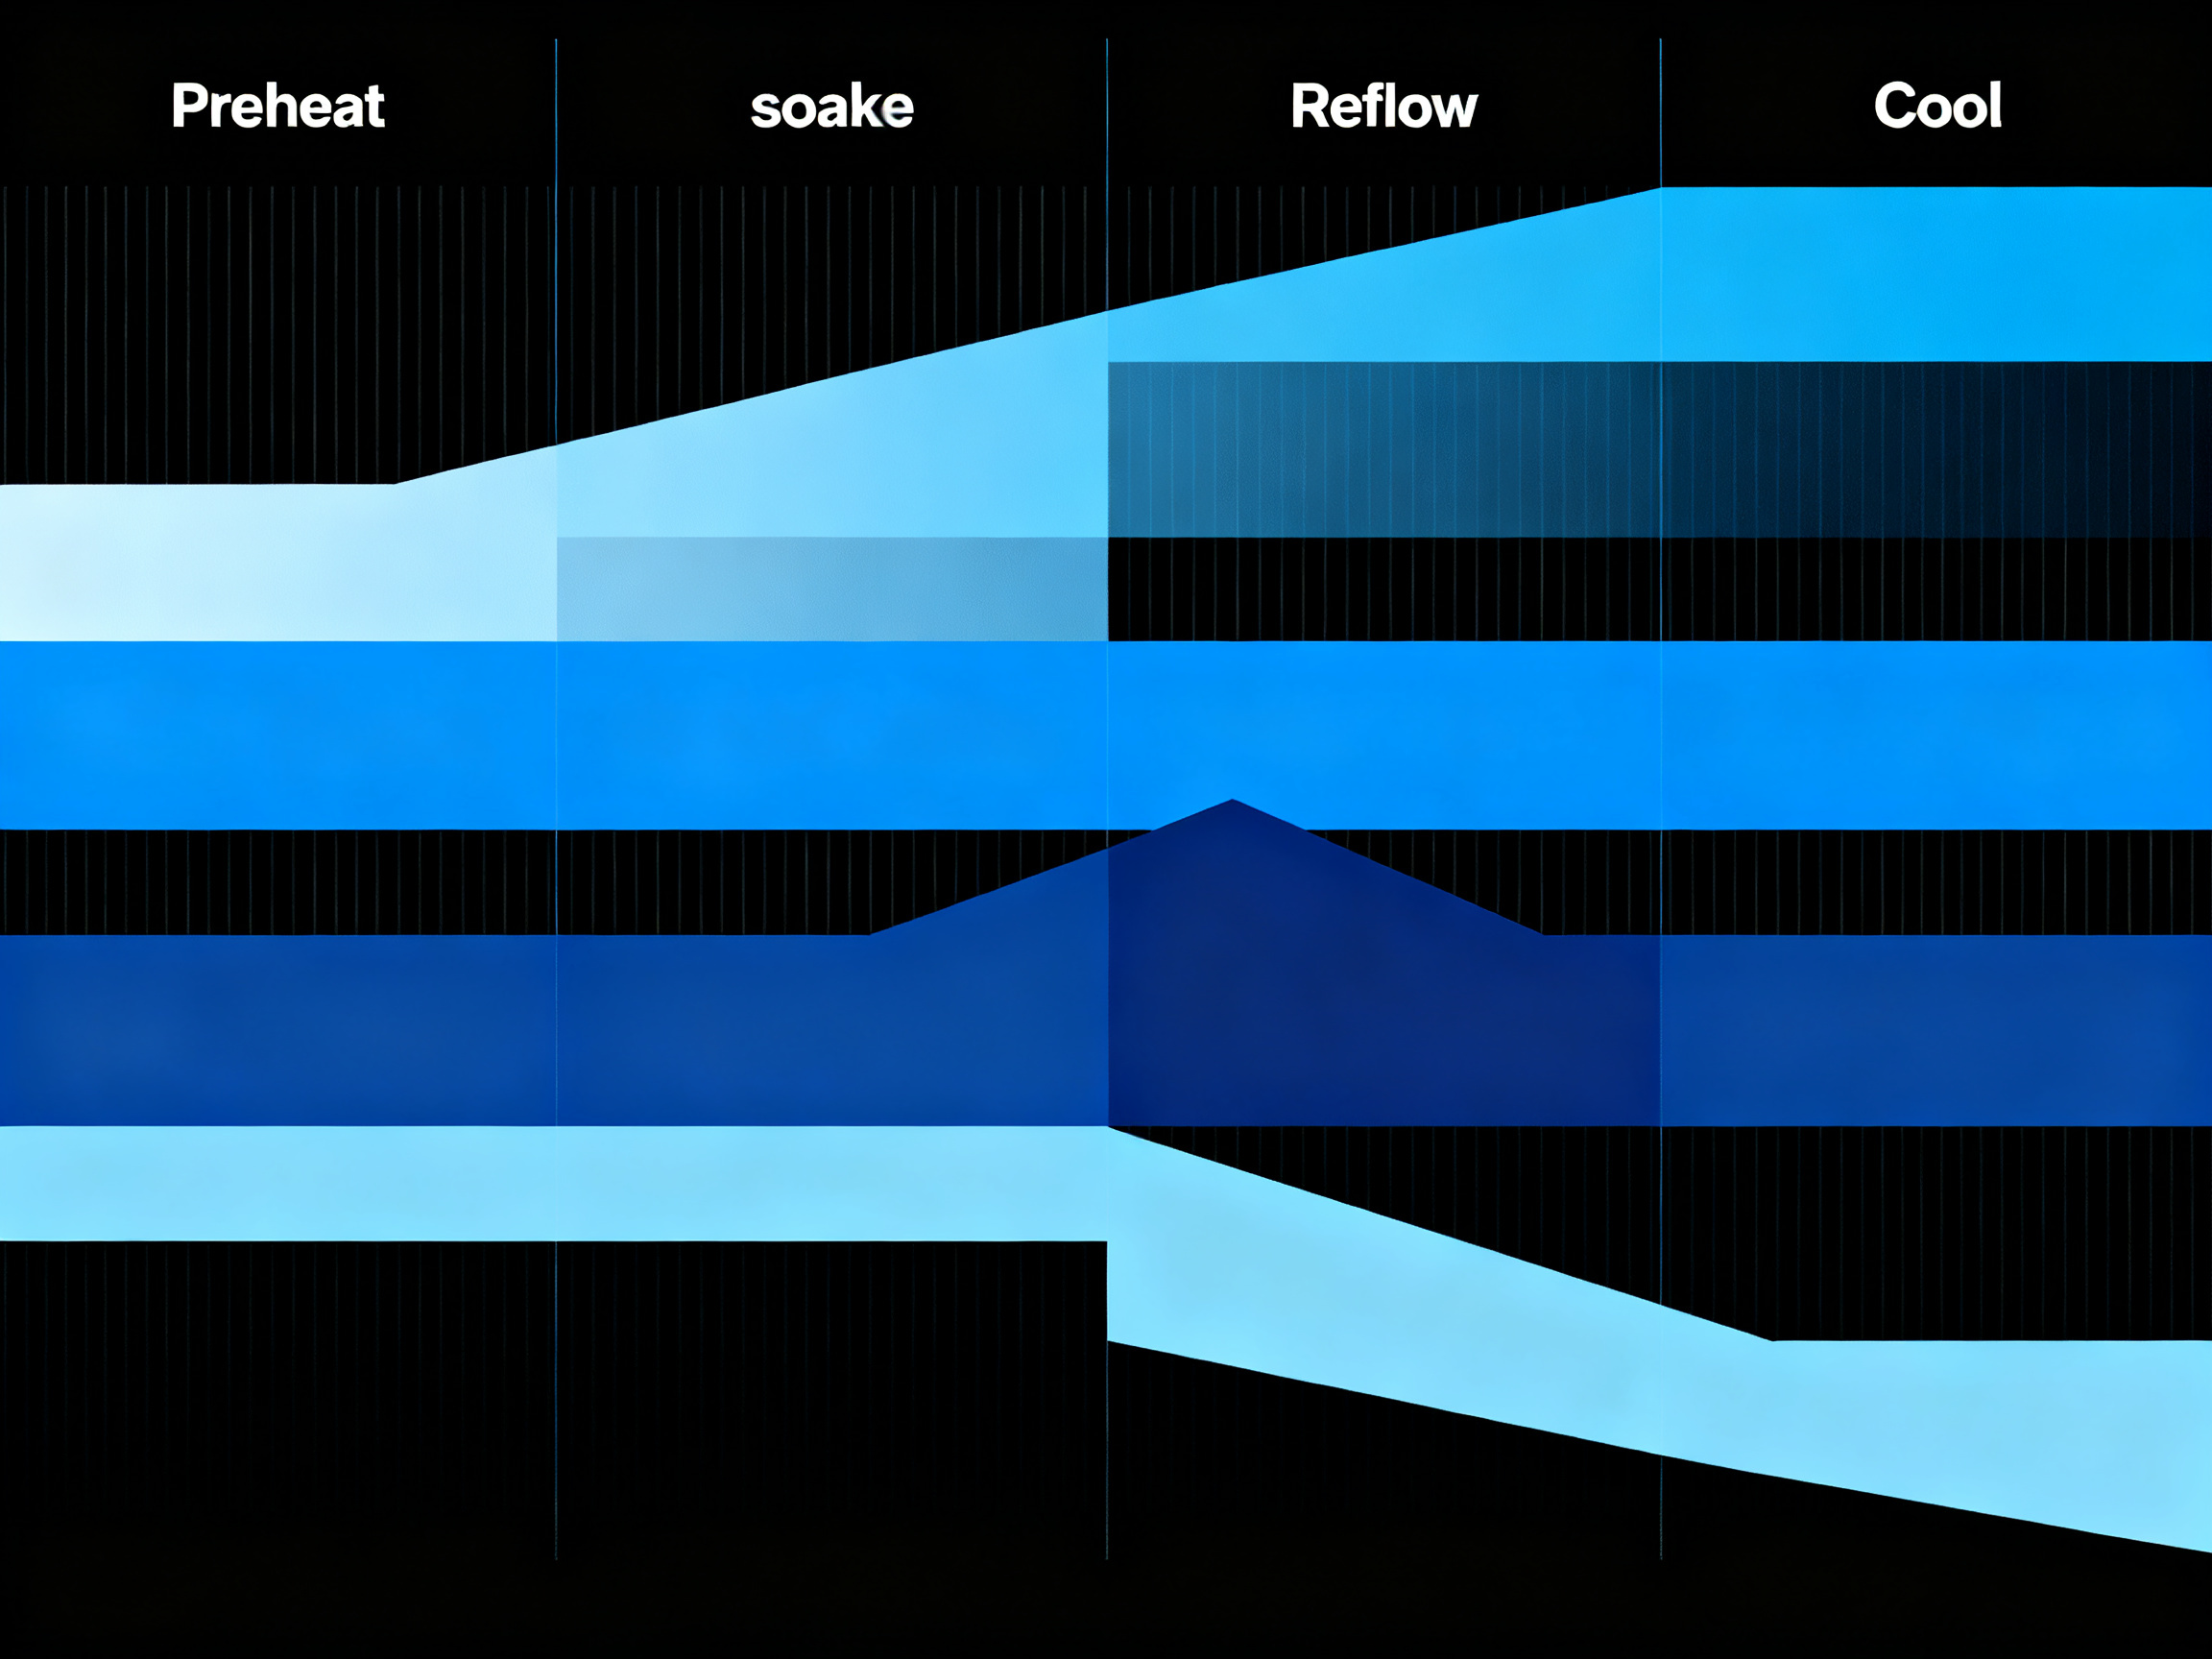
Back in the day, you pretty much needed a big, expensive reflow machine if you wanted to solder surface mount parts well. These days? Nope. Lots of us are grabbing cheap toaster ovens, gutting the controls, and adding smart reflow oven controllers. That gets you the key stages pros use—preheat, soak, reflow, cool—by following a specific heat-up and cooldown curve, just like the big factories. Why does it matter? Because good heat control means fewer mistakes, stronger connections, and better boards—whether you’re tinkering in a bedroom or building a startup from your garage.
Here’s the basic process: lay out your PCB, dab a little solder paste on each pad, drop on your SMD parts, then run it through a reflow cycle where every temperature step counts. The result? All the components solder themselves on, nice and neat, thanks to the magic of surface tension and good thermal profiling (Eletimes explains the technical side). Plus, you’ll feel like a real production pro, even if you’re just wearing socks and a hoodie at home.
Expert Tip: Starting your first DIY reflow oven project? Plan things out. Make a checklist: build materials, safety gear, ventilation, and a sample board you’re willing to mess up. You’ll learn more (and avoid frustration) this way.
So why go homebrew? DIY reflow ovens cost way less than pro equipment. You can learn as you go and tweak your setup to match your needs. The flip side is, well, it takes trial and error—temperature control isn’t always perfect, and there’s some real risk if you skip safety steps (DIYers on EEVblog talk honestly about trade-offs).
If you’re thinking about it, make sure you:
- Understand temperature profiles (don’t blast everything on high!)
- Use a good controller that lets you customize heats
- Keep safety first. Seriously; treat that oven with respect
And don’t try to make pizza in it after. Just… trust me on that one.
Next up, let’s look at how these setups work and why toaster oven conversions are so popular for reflow PCB work in 2026.
The Mechanics of Toaster Oven Conversions
So, you want to know how to make a reflow oven out of a toaster oven? Here’s the real deal in 2026: you’ll need more than a thrift store buy and hope. Let’s get honest about what actually goes into a working DIY reflow oven setup.
First, the must-have components:
- The toaster oven. Go for a simple one with enough space for your boards, but don’t grab anything with fancy electronics you can’t bypass.
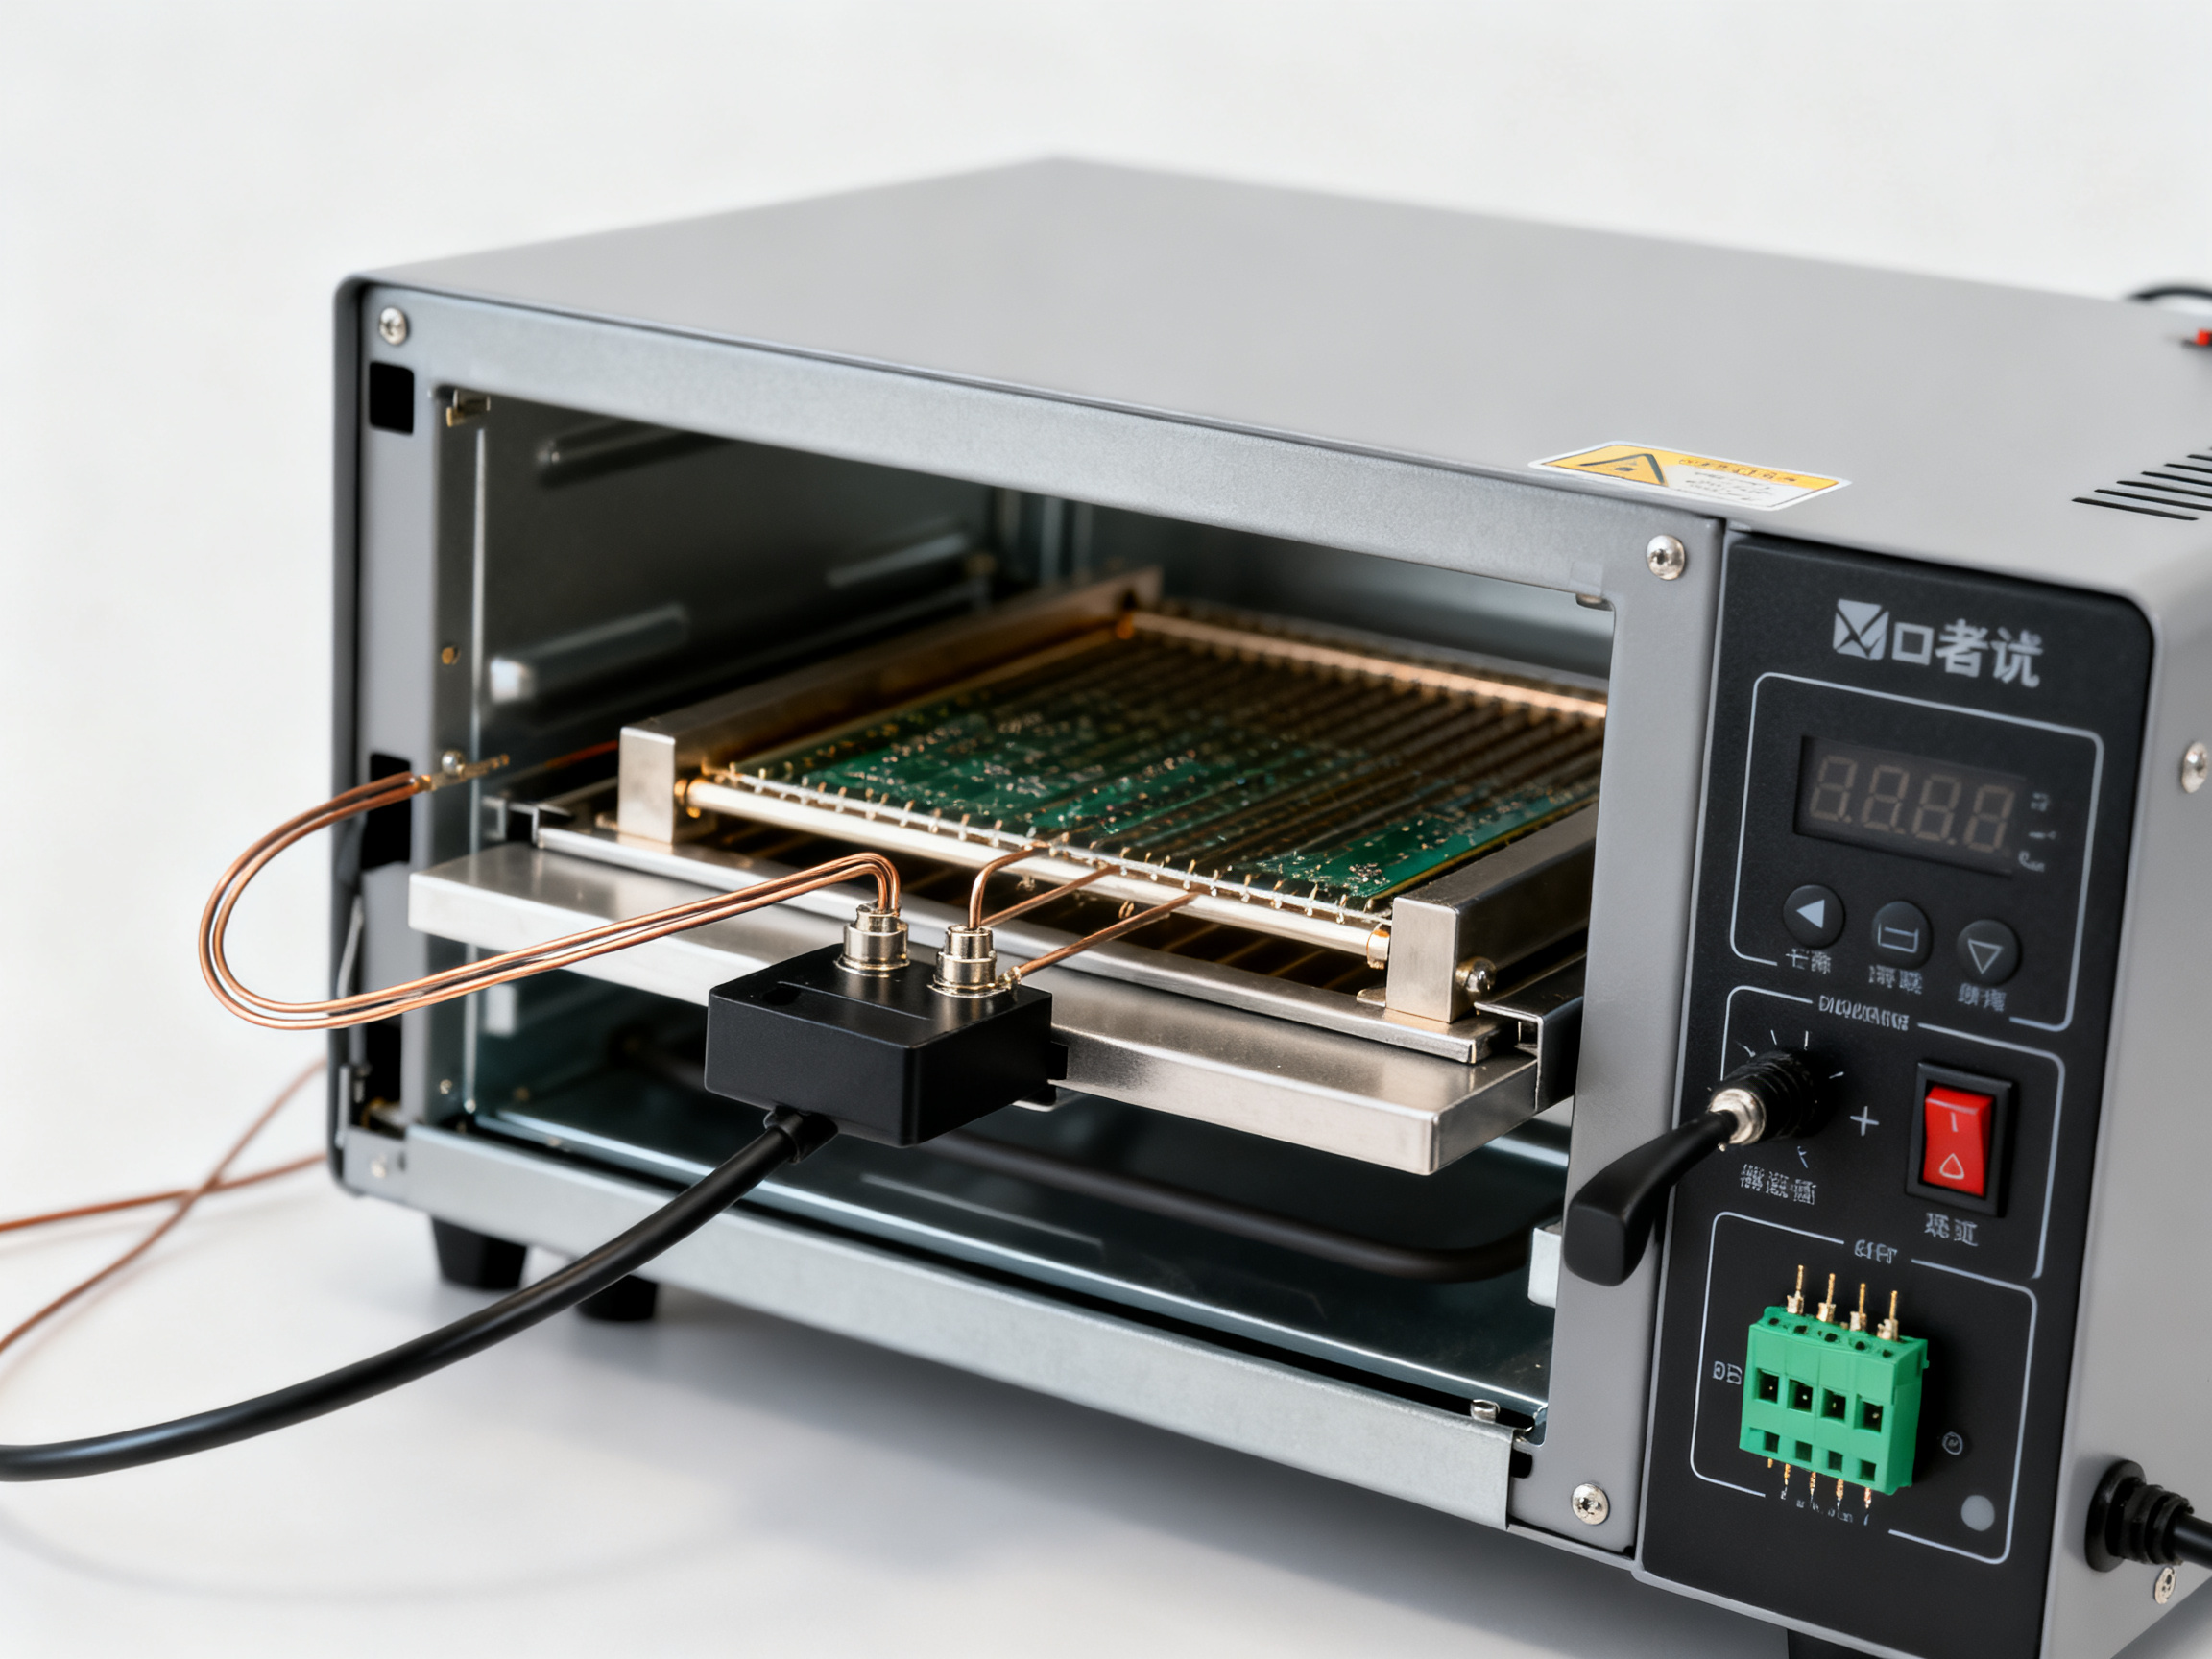
- Reflow oven controller kit. This does the real magic—controlling the heat, the speed, each stage of the cooking cycle. Without a controller, you’re just guessing and hoping for the best (see the Toast-R-Reflow DIY kit breakdown).
- Thermocouples and sensors. K-type sensors are the go-to for tracking real temps inside your oven. Plan on one or two for good readings.
- Relay or solid-state relay (SSR). This is what actually flips the oven elements on and off, timed by your controller.
- Power source. Often a small 7–12V supply to handle controller and sensor bits separately from the main oven juice.
- Display or interface. You want to see what’s going on! An LCD is handy for real-time updates.
Safety: Not Just a Footnote
Look, converting kitchen gear for electronics means playing with real heat and electricity. As someone who’s botched a few builds, I can say: shortcuts bite.
Before you start hacking—grab these basic tools and supplies:
- Small screwdrivers and wire cutters/strippers
- Heat-resistant wire and terminal blocks
- Soldering iron (because, DIY electronics, right?)
- Drill or rotary tool for case mods
- Multimeter for safety checks
- Zip ties or wire organizers (keep the inside tidy)
- Safety glasses, mask, and gloves
Tools and Materials Checklist
Here’s a quick cheat sheet:
| Component | Why You Need It |
|——————-|————————————————–|
| Toaster Oven | Main heating chamber |
| Oven Controller | Automated temperature management |
| K-type Thermocouple | Tracks actual PCB temps |
| SSR/Relay | Turns elements on/off precisely |
| Power Supply | Safer, separates control and heating loads |
| LCD/Display | Watch profiles and monitor |
| Safety Gear | Protects you—gloves, mask, glasses |
Thermal Profiles and Heat Distribution
Understanding your heat ramps and thermal staging is critical to success. DIY reflow oven conversions let you control the environment, but the accuracy of your heating depends on the precision of your setup.
Converting a toaster oven isn’t rocket science, but it’s way more than plugging in a timer. With a solid plan and the right parts, you can build a DIY solder reflow oven that handles actual SMD runs without babysitting every second. Want smoother results or fewer mistakes? Stage hardware tests before your first real run, and always do a safety check before and after you power up.
Plus, if you’re ever ready for a pro setup, companies like Sun and Mountain SMT build reflow ovens with industrial-level safety and feature integration. For everyday DIY? Stick to best practices and keep that smoke detector happy!
DIY reflow ovens work for most folks in 2026. They’re smart for prototyping, budget builds, and learning new soldering techniques. Just keep safety in mind, watch your thermal data, and don’t be afraid to upgrade when new needs pop up. Whether you stick with thrifty toaster hacks or jump to turnkey pro systems like Sun and Mountain SMT, your workflow—and sanity—will thank you. Happy soldering!