
Published: 26 May 2026
Reading Time: 7 minutes
Reviewer: Simon Scrapes, Founder
You know that moment when a tiny SMD chip is sitting on your PCB, your soldering iron is in one hand, tweezers in the other, and you start thinking, there has to be an easier way? That’s where a diy solder reflow oven starts to make a lot of sense. For hobby builds, small PCB assembly jobs, and messy bench-top experiments, a toaster oven solder reflow setup can save time, cut stress, and give you cleaner results than hand-soldering every joint one by one.
And yes, people still love this project in 2026. Why? Mostly because it hits a sweet spot. A homemade oven can be much cheaper than factory gear, but still good enough for repeatable surface-mount work when it’s built with care. It also teaches you a ton about heat control, solder paste, and how modern boards actually come together.
Jace Liu is a passionate electronics enthusiast with extensive experience in DIY electronics projects, focusing on creating practical and efficient solutions for hobbyists and small-scale manufacturers. With a background in electrical engineering and a knack for innovative designs, Jace’s insights are invaluable to anyone looking to enhance their home electronics manufacturing capabilities.
Understanding Solder Reflow
Let’s keep this simple. Solder reflow is the process of heating solder paste until it melts, bonds the component leads to the pads, and then cools into a solid joint. It sounds basic. But the magic is in the timing.
Most reflow runs follow four stages: preheat, soak, reflow, and cooling. During preheat, the board warms up slowly so parts do not get shocked by sudden heat. Then comes soak, where the board temperature evens out and the flux gets to work. After that, the solder melts at peak temperature. Finally, the board cools and the joints harden.
I always tell beginners this: a diy solder reflow oven is not just a hot box. It is a way to follow a heat curve on purpose. That is what makes PCB assembly using solder reflow work better than guessing with a heat gun. If the board gets too hot, parts can shift or fail. If it stays too cool, joints may look dull and weak. A clear guide to the reflow soldering process breaks down why each phase matters.
For hobbyists, this matters a lot with fine-pitch chips, tiny resistors, and short-run batches. We’ve all been there. One board is fun. Ten boards by hand gets old fast.
Expert Tip: To improve soldering process efficiency, place your thermocouple near the center of the PCB area, not at the oven wall. That gives you a reading closer to what your board actually feels.
Why a Toaster Oven Works So Well for DIY Reflow
Funny enough, the humble toaster oven is probably the most popular starting point for a solder reflow oven diy build. Not because it’s perfect. It’s not. But because it is cheap, easy to find, and good enough to learn on.
A convection toaster oven is usually the better pick because moving air helps spread heat more evenly. That can reduce hot spots, which are a pain during reflow. A basic non-convection model can still work, but you may need more testing and a bit more patience.
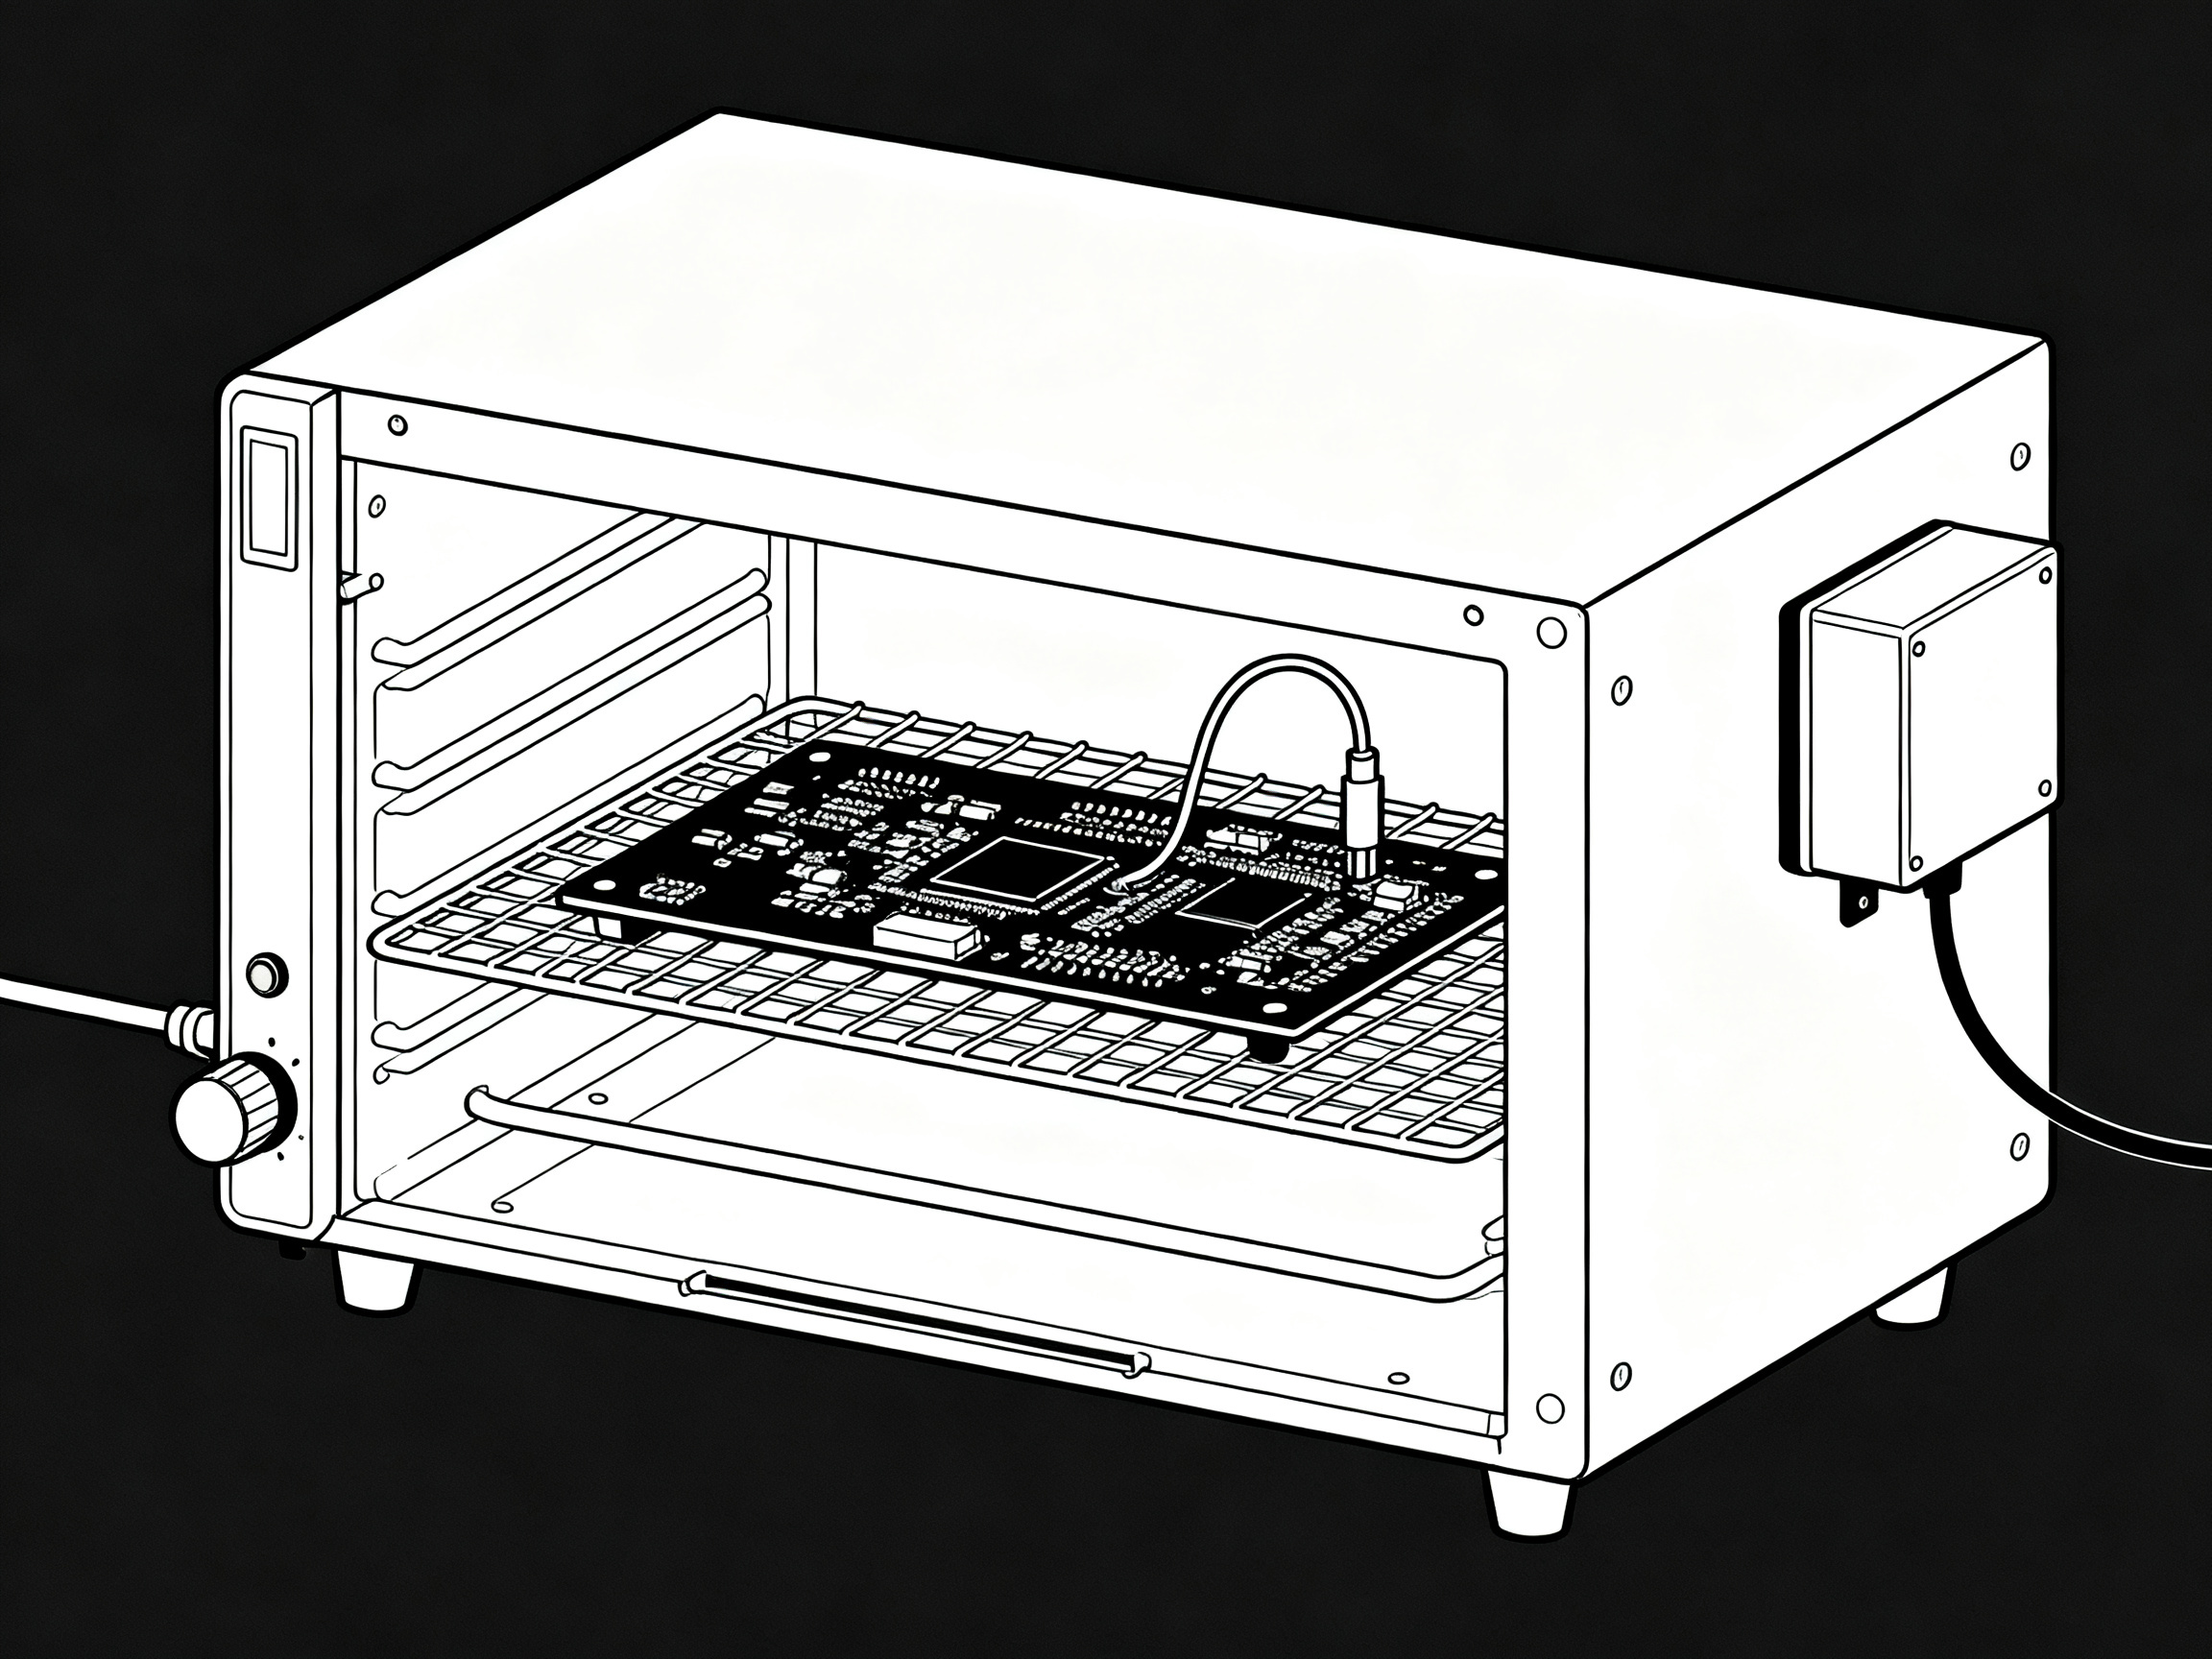
Here is why people keep building these in 2026:
| Reason | Why it helps |
|—|—|
| Low cost | Much cheaper than production reflow equipment |
| Easy to source | You can often find one locally or online fast |
| Batch soldering | Solder many SMD parts at once |
| Custom control | Add your own controller integration for temperature |
| Great learning project | Teaches thermal control, wiring, and process tuning |
I have seen builders start with a thrift-store oven, then slowly upgrade it with a thermocouple, better insulation, and smarter control. That path makes sense. Start simple. Learn what the oven does. Then tweak.
But here’s the deal, if you are running a real EMS or OEM production line, a homemade setup won’t replace industrial throughput. That’s where a company like Sun and Mountain SMT fits better, especially if you need precision reflow ovens with less manual babysitting and better repeatability at scale.
10-Step Toaster Oven Build Guide
If you want to know how solder reflow oven diy projects usually come together, this is the part that matters most. Actually, scratch that. This is the part people bookmark.
1. Pick the right oven
Go for a toaster oven that can reach reflow temperatures and has enough room for your boards. Convection is a plus. Glass doors help too, since you can watch solder paste go shiny without opening the oven.
2. Clean it and retire it from kitchen duty
This matters. Once you use an oven for soldering, it should never go back to food use. Flux fumes and residue are not something you want near pizza.
3. Plan your wiring
If you’re figuring out how solder reflow oven wire should be routed, keep mains wiring away from low-voltage signal wiring. Use heat-rated wire, proper connectors, and a grounded metal chassis. If mains wiring makes you nervous, that’s a good instinct. Get help.
4. Add a temperature sensor
Most builds use a thermocouple. Mount it near board level so the controller reads the heat where your PCB sits, not just the air near the top element.
5. Install the switching hardware
A solid-state relay is common in a solder reflow toaster oven build. It lets the controller switch the heating elements on and off based on the target profile.
6. Mount the controller
You can use an Arduino, STM32 board, or a kit like Controleo3. More on that in a minute. The main goal is simple: stable controller integration for temperature, readable status, and easy profile control.
7. Test the oven empty
Do a few dry runs first. Watch for overshoot, slow response, or weird cold corners. This is where many people realize their oven heats unevenly. Better now than with a populated board inside.
8. Prepare the PCB
Apply solder paste, place parts carefully, and double-check orientation. One flipped IC can ruin your afternoon. Been there.
9. Run the reflow profile
A common lead-free profile in 2026 looks something like this:
- Preheat: 150 to 180°C for 60 to 90 seconds
- Soak: 180 to 200°C for 60 to 120 seconds
- Peak reflow: 235 to 250°C for 20 to 40 seconds
- Cooling: controlled cooldown, without bumping the board
10. Cool, inspect, and adjust
Some builders crack the door slightly to cool faster. If you’re wondering how solder reflow oven door handling should work, the short answer is carefully. Open it a little after peak, not too early, and do not shake the board while solder is still liquid.
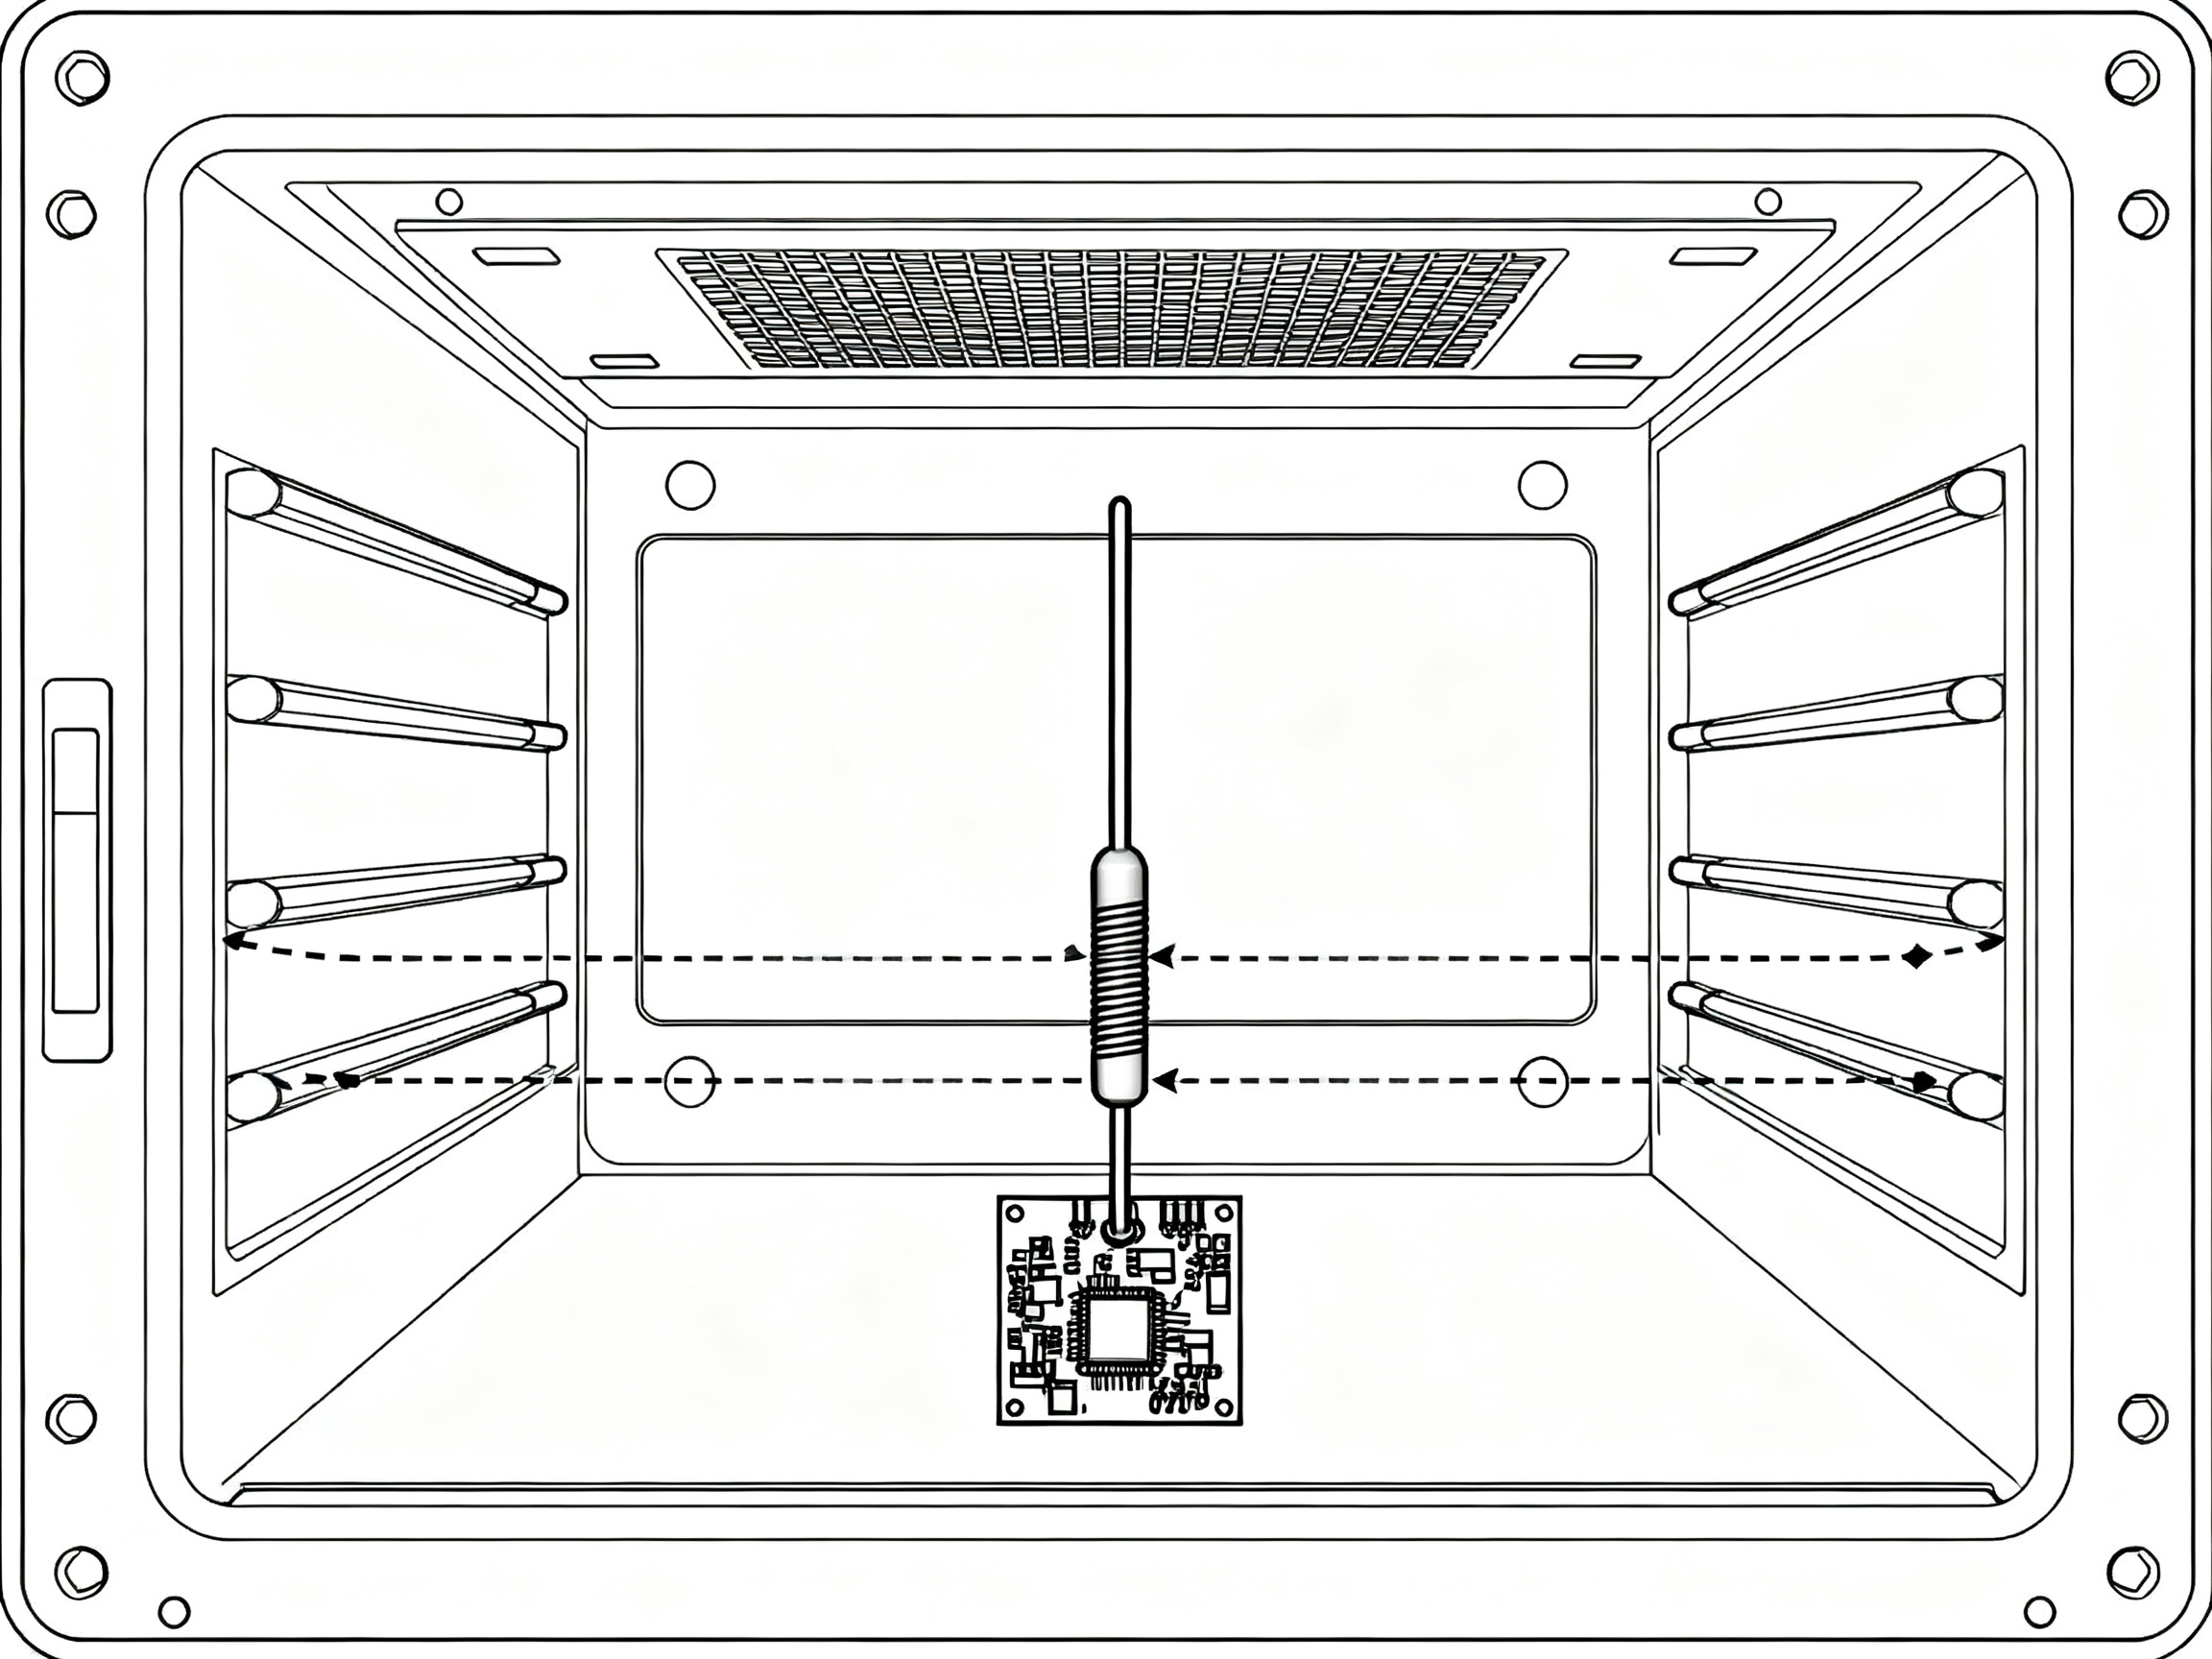
We tested a small bench setup like this on prototype sensor boards, and the biggest lesson was simple: empty test cycles save real boards. It felt slow at first, but it cut rework later.
Pro Insight: The most common DIY build mistake is rushing calibration. Spend 20 minutes tuning before your first real board, and you’ll probably save hours of debugging bad joints.
Best Controller Setup for Better Results
This is where a decent build becomes a really usable one.
For controller setup in 2026, most hobbyists lean toward three paths:
| Controller option | Best for | Tradeoff |
|—|—|—|
| Controleo3 | Easiest polished setup | Costs more |
| STM32 or Bluepill build | Flexible and low-cost | More setup work |
| Arduino PID build | Familiar and beginner-friendly | Needs tuning |
The biggest setup issues are usually not code. Weird, right? They are sensor placement, heater lag, and overshoot. If your thermocouple is in the wrong spot, your numbers may look perfect while your board is underheated. If your PID tuning is rough, the oven might blast past peak temperature before settling down.
I have found that starting with empty profiling runs makes everything easier. You learn the oven’s habits first. Some heat too slowly. Some spike hard near the top end. Some have a left-side hot spot that shows up every single run.
And here’s one more practical point. If you’re researching how solder reflow oven glass affects performance, the answer is mostly about visibility and heat loss. A glass door helps you watch the solder flow, but poor sealing around the door can also let heat escape. So visibility is nice; tight control is nicer.
For very small makers, a DIY controller is often enough. But if a team is scaling into daily throughput, fewer defects usually matter more than saving upfront cash. That’s the point where dedicated equipment from Sun and Mountain SMT starts to look less like a luxury and more like a sane business move.
Safety: What You Really Should Not Skip
Look, I get it. Safety sections can feel like the boring part. This one isn’t.
A diy solder reflow oven mixes mains voltage, red-hot metal, fumes, and electronics that can fail under heat. So yes, you need a checklist.
Basic safety rules
- Never use the oven for food after soldering use
- Keep it in a well-ventilated area
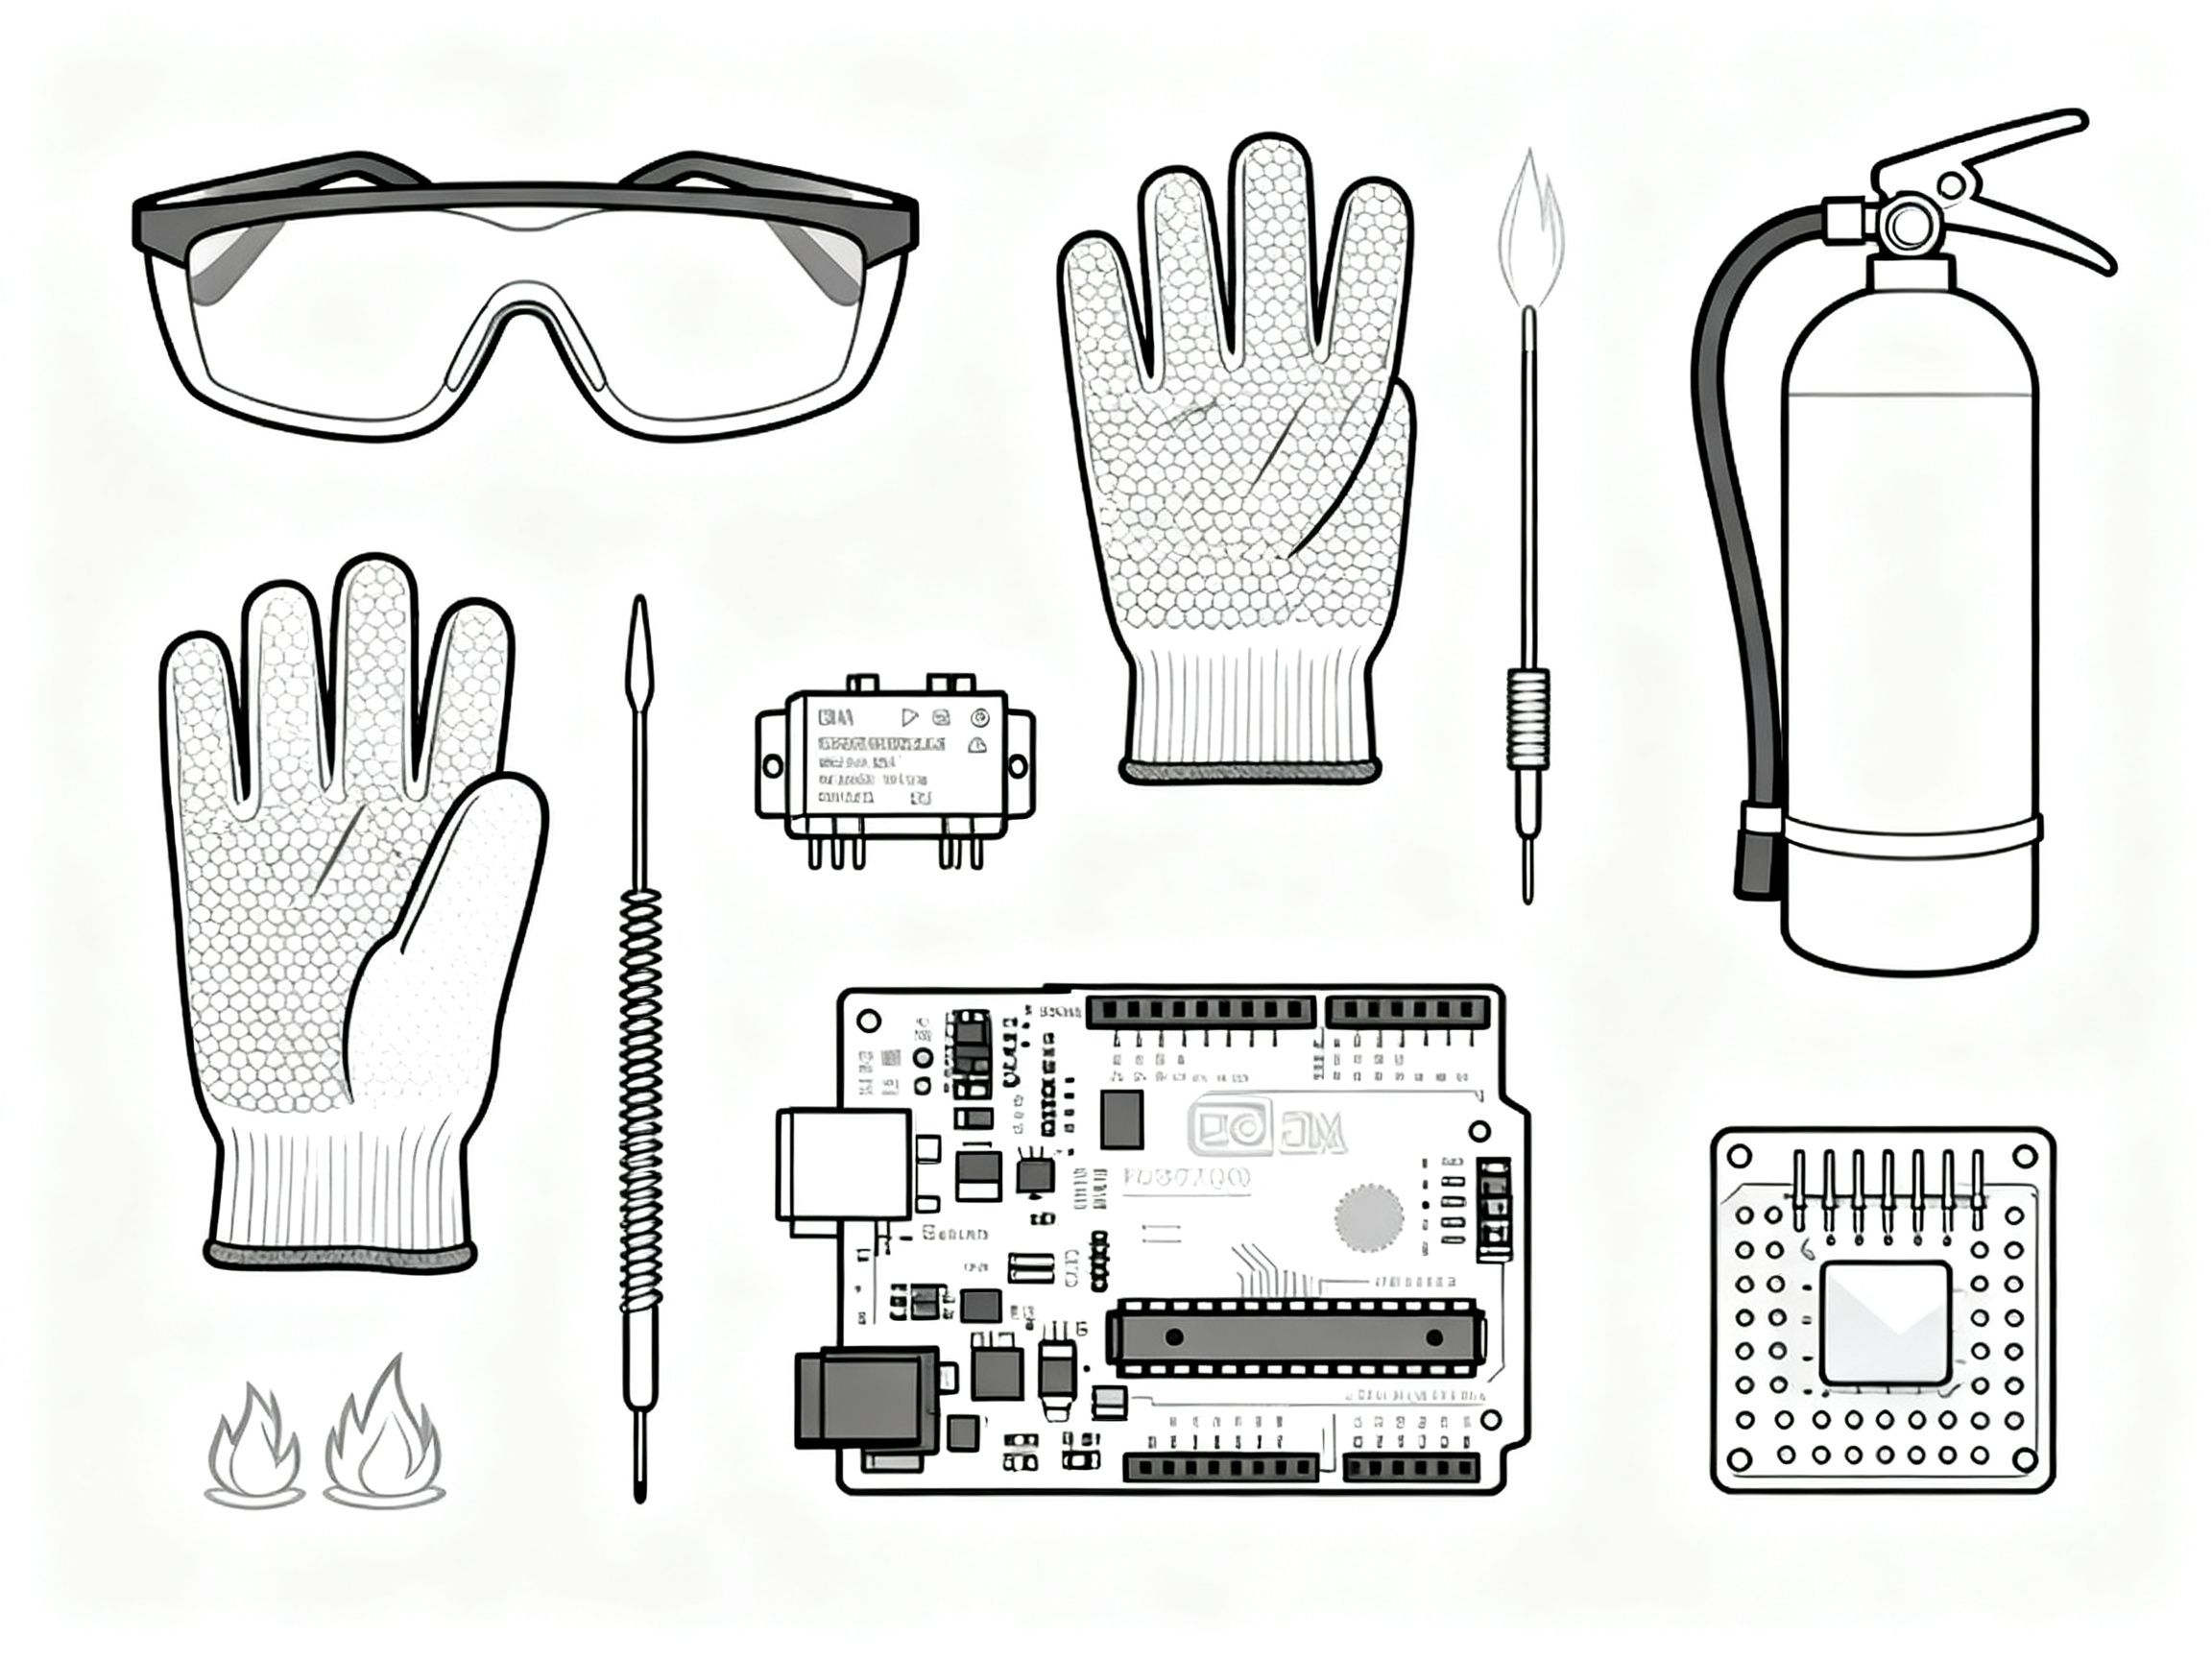
- Wear safety glasses and heat-resistant gloves
- Do not leave the oven unattended during a run
- Keep paper, plastic, and solvents away from it
- Use proper fuses and grounding
- Label it clearly as non-food equipment
If moisture-sensitive parts are involved, pre-bake them if the datasheet says to. If not, trapped moisture can cause the part to crack during reflow. Not fun.
When thinking about how solder reflow oven door safety works, the main thing is avoiding sudden movement and heat exposure. Open the door only when your process calls for it, and use gloves because handles and trim can stay hot longer than you expect.
And please, do not guess your peak temperature. Running past about 260°C can damage parts and boards. One practical guide on using a reflow oven safely and well gives a solid overview of profile control, ventilation, and operating habits.
Expert Tip: Put a small Class C rated fire extinguisher near your bench, not across the room. If something goes wrong, seven seconds feels like forever.
DIY vs Commercial Reflow Ovens in 2026
So, is the best solder reflow oven diy build better than buying a real machine? Usually no. But sometimes yes. Depends what you need.
For one-off boards, prototypes, and weekend DIY electronics projects, a toaster oven conversion often wins on cost. It gets you into surface-mount work without a huge spend. It is also fun, and that counts for something.
For repeat production, lower defect rates, and line-wide consistency, commercial machines win by a mile. They handle thermal uniformity better, support more predictable workflows, and reduce the amount of hands-on tweaking between runs.
| Use case | Better choice | Why |
|—|—|—|
| Hobby boards | DIY toaster oven | Cheap and flexible |
| Small prototyping team | Depends | DIY can work, but repeatability matters more |
| Mid to large production | Commercial oven | Better throughput and fewer defects |
This is where being honest helps. If you’re building five dev boards a month, you probably do not need a production oven. If you’re shipping boards to paying customers every week, you probably do.
Final Thoughts
A toaster oven solder reflow build can be one of the most useful upgrades on a hobby bench. It helps with speed, consistency, and confidence, especially once you start working with fine-pitch parts and short PCB batches. Start with a safe oven, add good control, run test profiles, and treat calibration like part of the project, because it is.
If you want a learning project, this is a great one. If you want factory-grade output every day, it may be time to look beyond DIY and into dedicated SMT equipment.
We’ve seen that the best results come from respecting both sides of the process: smart engineering during the build, and disciplined testing after it. If you start there, your first reflow run in 2026 has a much better shot at being the one that just works.