
Published: 10 July 2026
Last Updated: 10 July 2026
Reading Time: 15 minutes
What Is PCB Assembly and Why It Matters in 2026
Picture this. Your engineering team just finished the design for a new IoT sensor. The schematics look great, the board layout passed all your DRC checks, and you sent the files off to fabrication. A week later, shiny bare PCBs arrive at your door.
But here’s the thing. Those boards don’t do anything yet.
You still need to mount resistors, capacitors, ICs, and connectors onto them. You need to solder everything in place so the components connect the way your design intended. And that’s where PCB assembly comes in.
PCB assembly (often called PCBA) is the process of populating a bare printed circuit board with electronic components and creating solid solder joints that form working electrical connections. Think of it as the step that transforms an empty green board into something that can actually power up and run code.
The difference matters more than you might expect. A bare PCB is just the substrate, the copper traces, and the drilling. Once you add components through assembly, you get a functional electronic assembly that can send data, process signals, or control a motor.
In 2026, the global electronics manufacturing market is growing fast, driven by AI automation, supply chain regionalization, and demand for smarter devices. Whether you’re building one prototype or 10,000 production units, understanding PCB assembly helps you make smarter decisions about suppliers, costs, and quality standards.
This guide walks you through the PCB assembly process, your sourcing options, typical costs, and exactly how to place an order this year.
Written by Jace Liu. Jace has spent years working alongside electronics manufacturing teams, helping them navigate the transition from manual assembly workflows to streamlined automated production lines.
Emerging Technologies in PCB Assembly
The landscape of printed circuit board (PCB) assembly is evolving rapidly as manufacturers adopt next‑generation equipment and process innovations. Key trends include the rise of modular SMT lines, AI‑driven defect detection, and the integration of IoT analytics for real‑time line monitoring. These technologies reduce setup times, improve yields, and enable factories to scale production volumes without compromising quality.
Modular Equipment
Modular surface‑mount technology (SMT) platforms allow producers to reconfigure line layouts quickly, swapping heads for different component packages or adding inline inspection modules as needed. The flexibility shortens change‑over cycles and lowers capital expenditure by focusing investment on core modules rather than entire machines.
AI‑Based Inspection
Machine‑learning algorithms trained on large defect libraries can identify solder bridging, tombstoning, and misaligned components with sub‑micron precision. Real‑time feedback loops adjust placement parameters on the fly, dramatically reducing scrap rates and the need for manual rework.
IoT and Data Analytics
Embedding sensors across the assembly line generates streams of temperature, vibration, and process‑parameter data. Edge computing devices preprocess this data and feed it into cloud‑based analytics platforms, enabling predictive maintenance and process optimization.
Conclusion
Manufacturers that invest in modular equipment, AI inspection, and IoT analytics will position themselves to meet the growing demand for high‑mix, low‑volume production while maintaining cost efficiency and product quality.
PCB vs PCBA: Key Terms Buyers and Engineers Should Know
Let’s clear up some terminology that trips people up all the time.
A PCB stands for printed circuit board. This is the bare board you receive before any components get added. It has the copper traces, the drilling, and the substrate, but it cannot do anything electrical yet. Think of it like an empty canvas.
A PCBA (or PCB assembly) is what you get after components get mounted and soldered onto that board. The PCBA is the finished, functional product that can actually power up and run code.
Here’s where confusion creeps in. When you’re talking to suppliers, asking for a “pcb and assembly” services might get you different responses depending on whether they understand you need the bare boards only or the fully populated assemblies. The term “assembly of pcb” specifically refers to the manufacturing process that transforms the bare board into a working unit.
Why this matters when you’re spending money:
If you request quotes without using the right terms, you might end up comparing apples to oranges. One supplier might quote you for bare pcba board assembly while another includes components and testing. That $5 per board difference? It might just be different scope.
When you review assembly drawings, the terminology tells you exactly what stage of production you’re looking at. A drawing marked “pcb board assembly” typically shows component placement and solder joint requirements. A bare board drawing shows only fabrication details.
| Term | Meaning | Why It Matters When Ordering |
| :— | :— | :— |
| PCB | Bare board, no components | Request this when you only need fabrication |
| PCBA | Fully assembled board | Request this when you need functional units |
| SMT | Surface Mount Technology | Automated assembly method for small components |
| THT | Through-Hole Technology | Components with leads inserted through holes |
| Turnkey | Provider sources all components | Simplifies procurement but costs more upfront |
| Consigned | You supply the components | Lower component cost but you carry inventory risk |
Getting these terms straight before contacting a pcb assembly service saves you time, prevents misunderstandings, and helps you get accurate quotes the first time around.
PCB Assembly Process: From Bare Board to Finished PCBA
So you have your bare PCBs sitting on the workbench. Now what?
The SMT assembly line transforms those empty boards into working electronics through a series of precise steps. Each stage matters, and skipping corners here creates problems down the road that are expensive to fix.
Step 1: Solder Paste Printing
First, the board goes through a stencil printer. A thin metal stencil sits on top of the PCB, and solder paste gets squeezed through the openings onto the pads. The printer needs to apply just the right amount, in just the right spots. Too much paste causes bridging between tiny components. Too little creates weak joints.
Modern stencil printers include solder paste inspection (SPI) cameras that check the deposit immediately after printing. This catches problems before they move further down the line.
Step 2: Component Placement
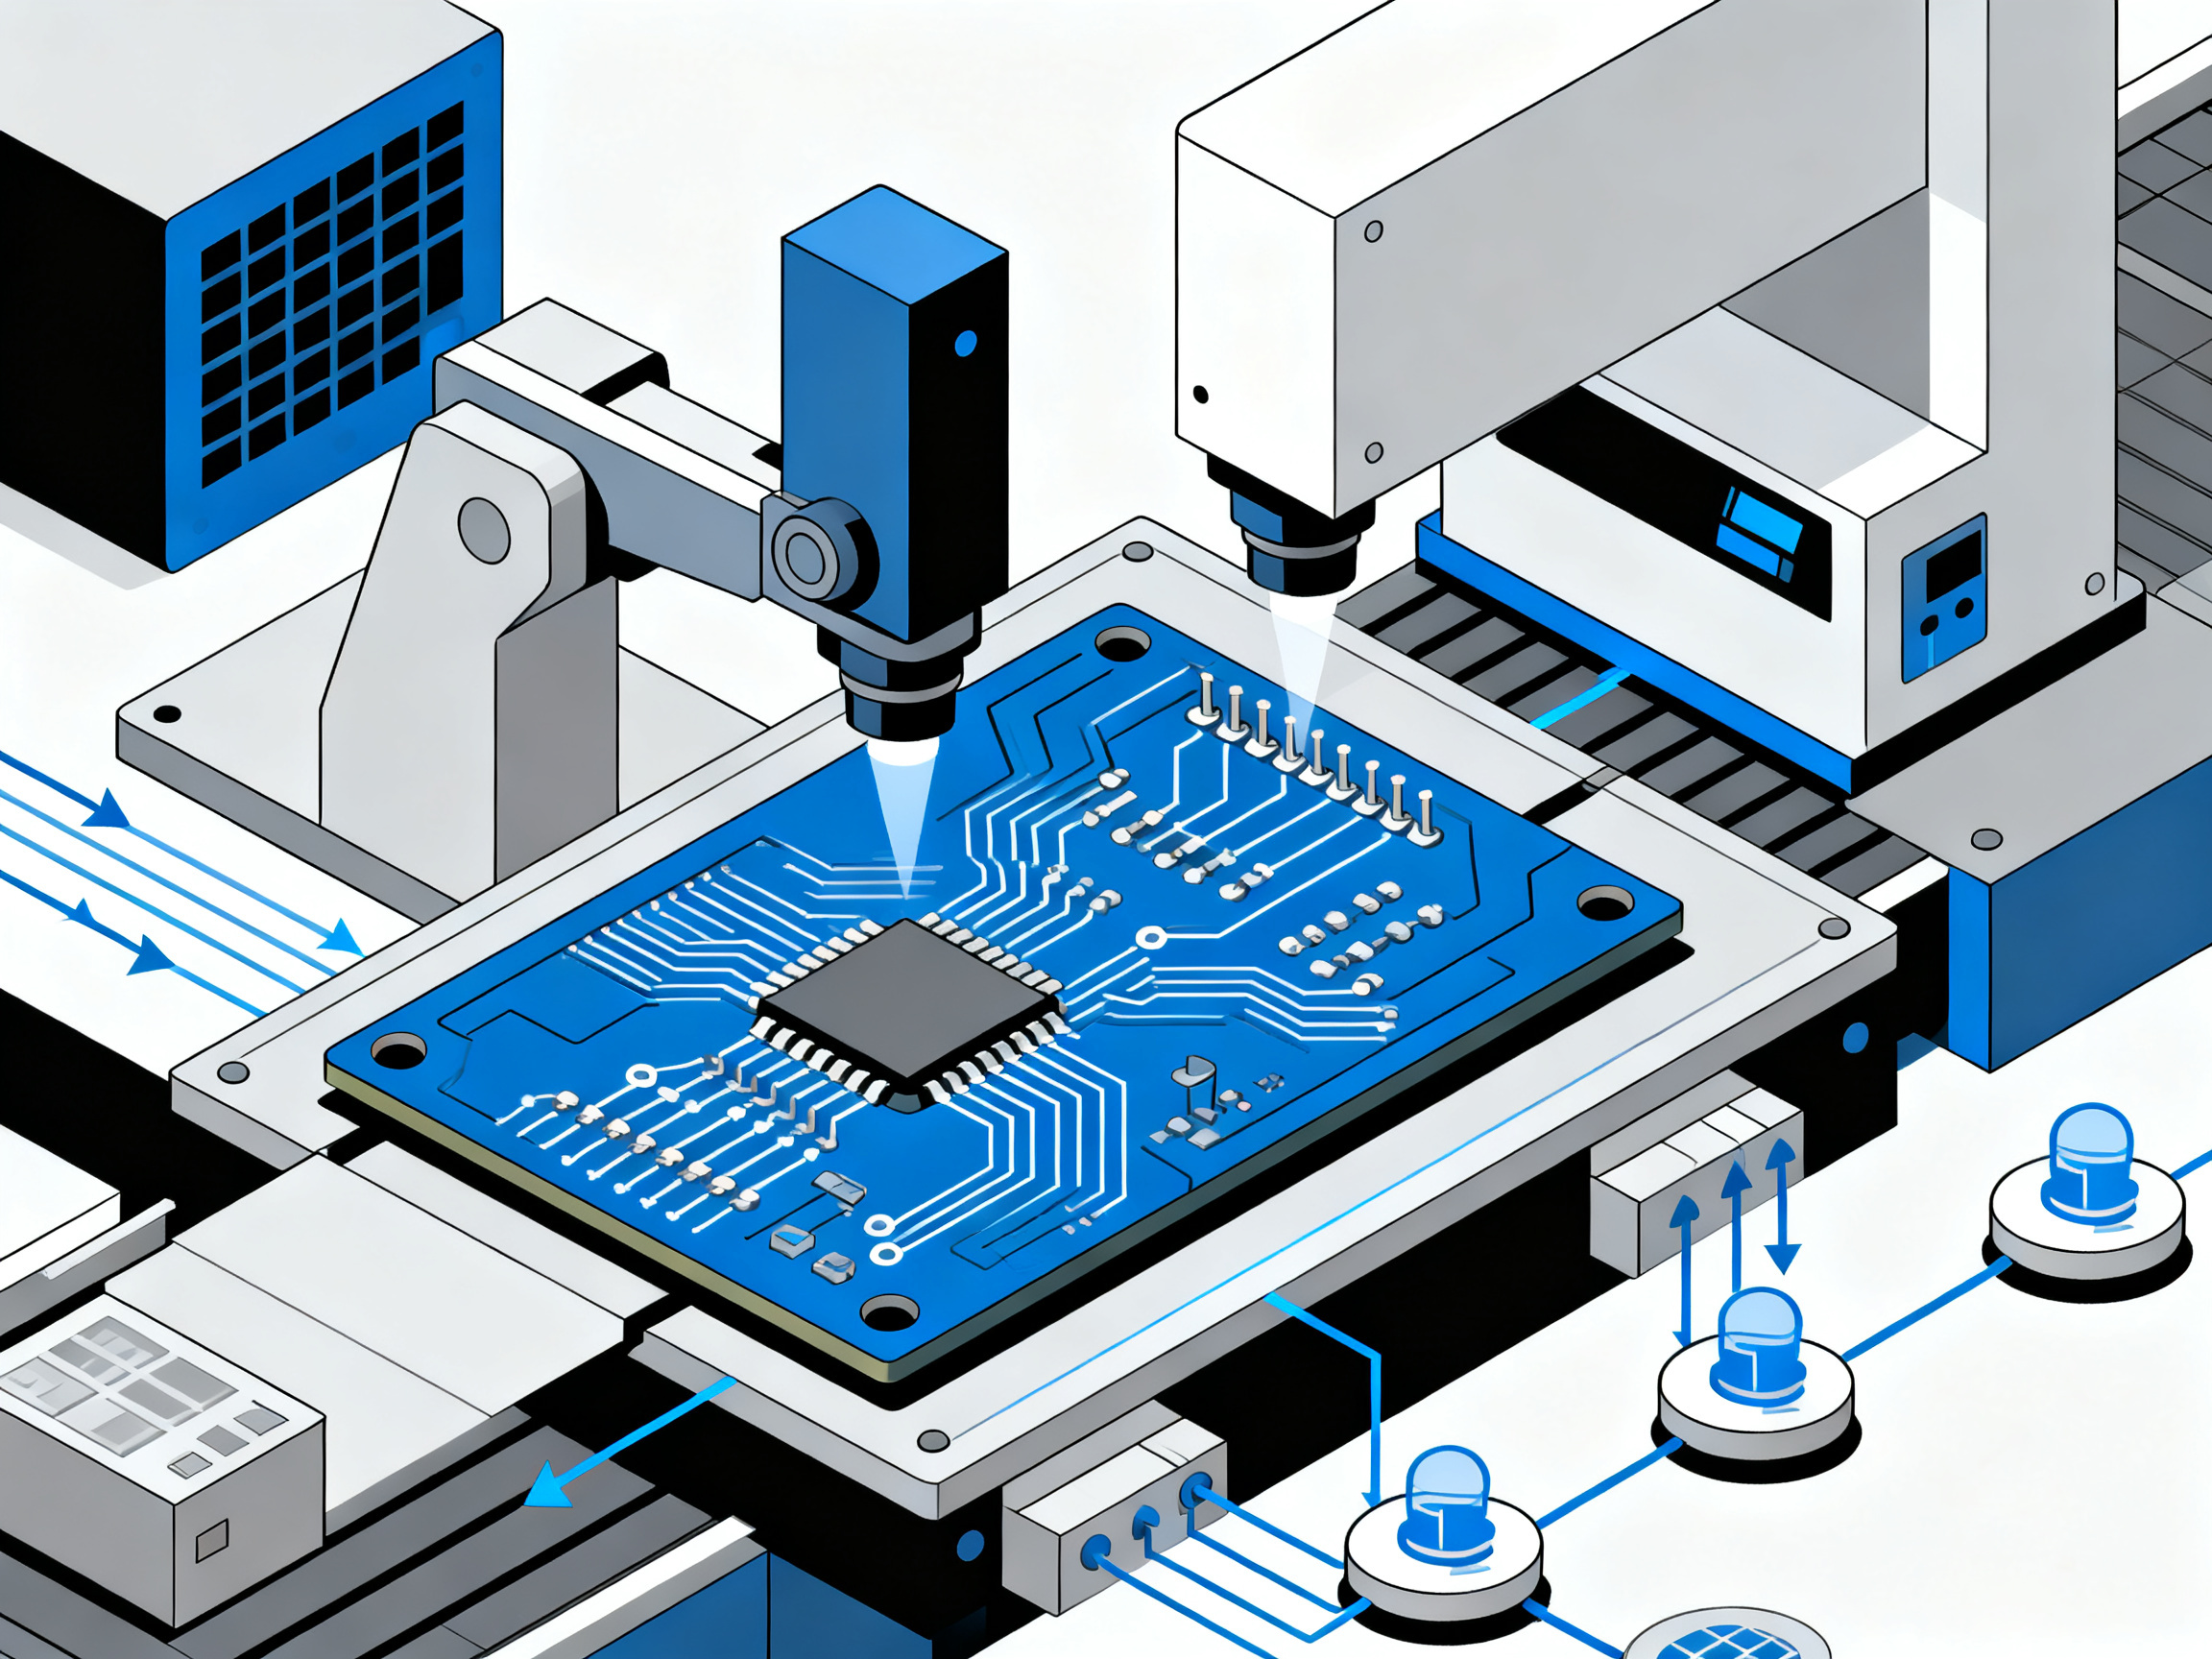
Next, the pick-and-place machine picks up each component from its reel or tray and positions it on the board. These machines work incredibly fast, placing thousands of parts per hour with micron-level accuracy.
The machine reads from a pick-and-place file (also called a centroid file) that tells it exactly where each component goes and what rotation angle to use. Fiducial marks on the board help the machine align everything correctly.
Step 3: Reflow Soldering
After placement, the board travels through a reflow oven on a conveyor belt. The oven heats the board in carefully controlled zones, melting the solder paste to form solid joints. Temperature profiling matters big time here. Get it wrong and you get cold joints, tombstoning, or damaged components.
Quality-focused shops use nitrogen atmosphere in the oven to reduce oxidation, especially for sensitive parts like BGAs and QFNs.
Step 4: Inspection and Testing
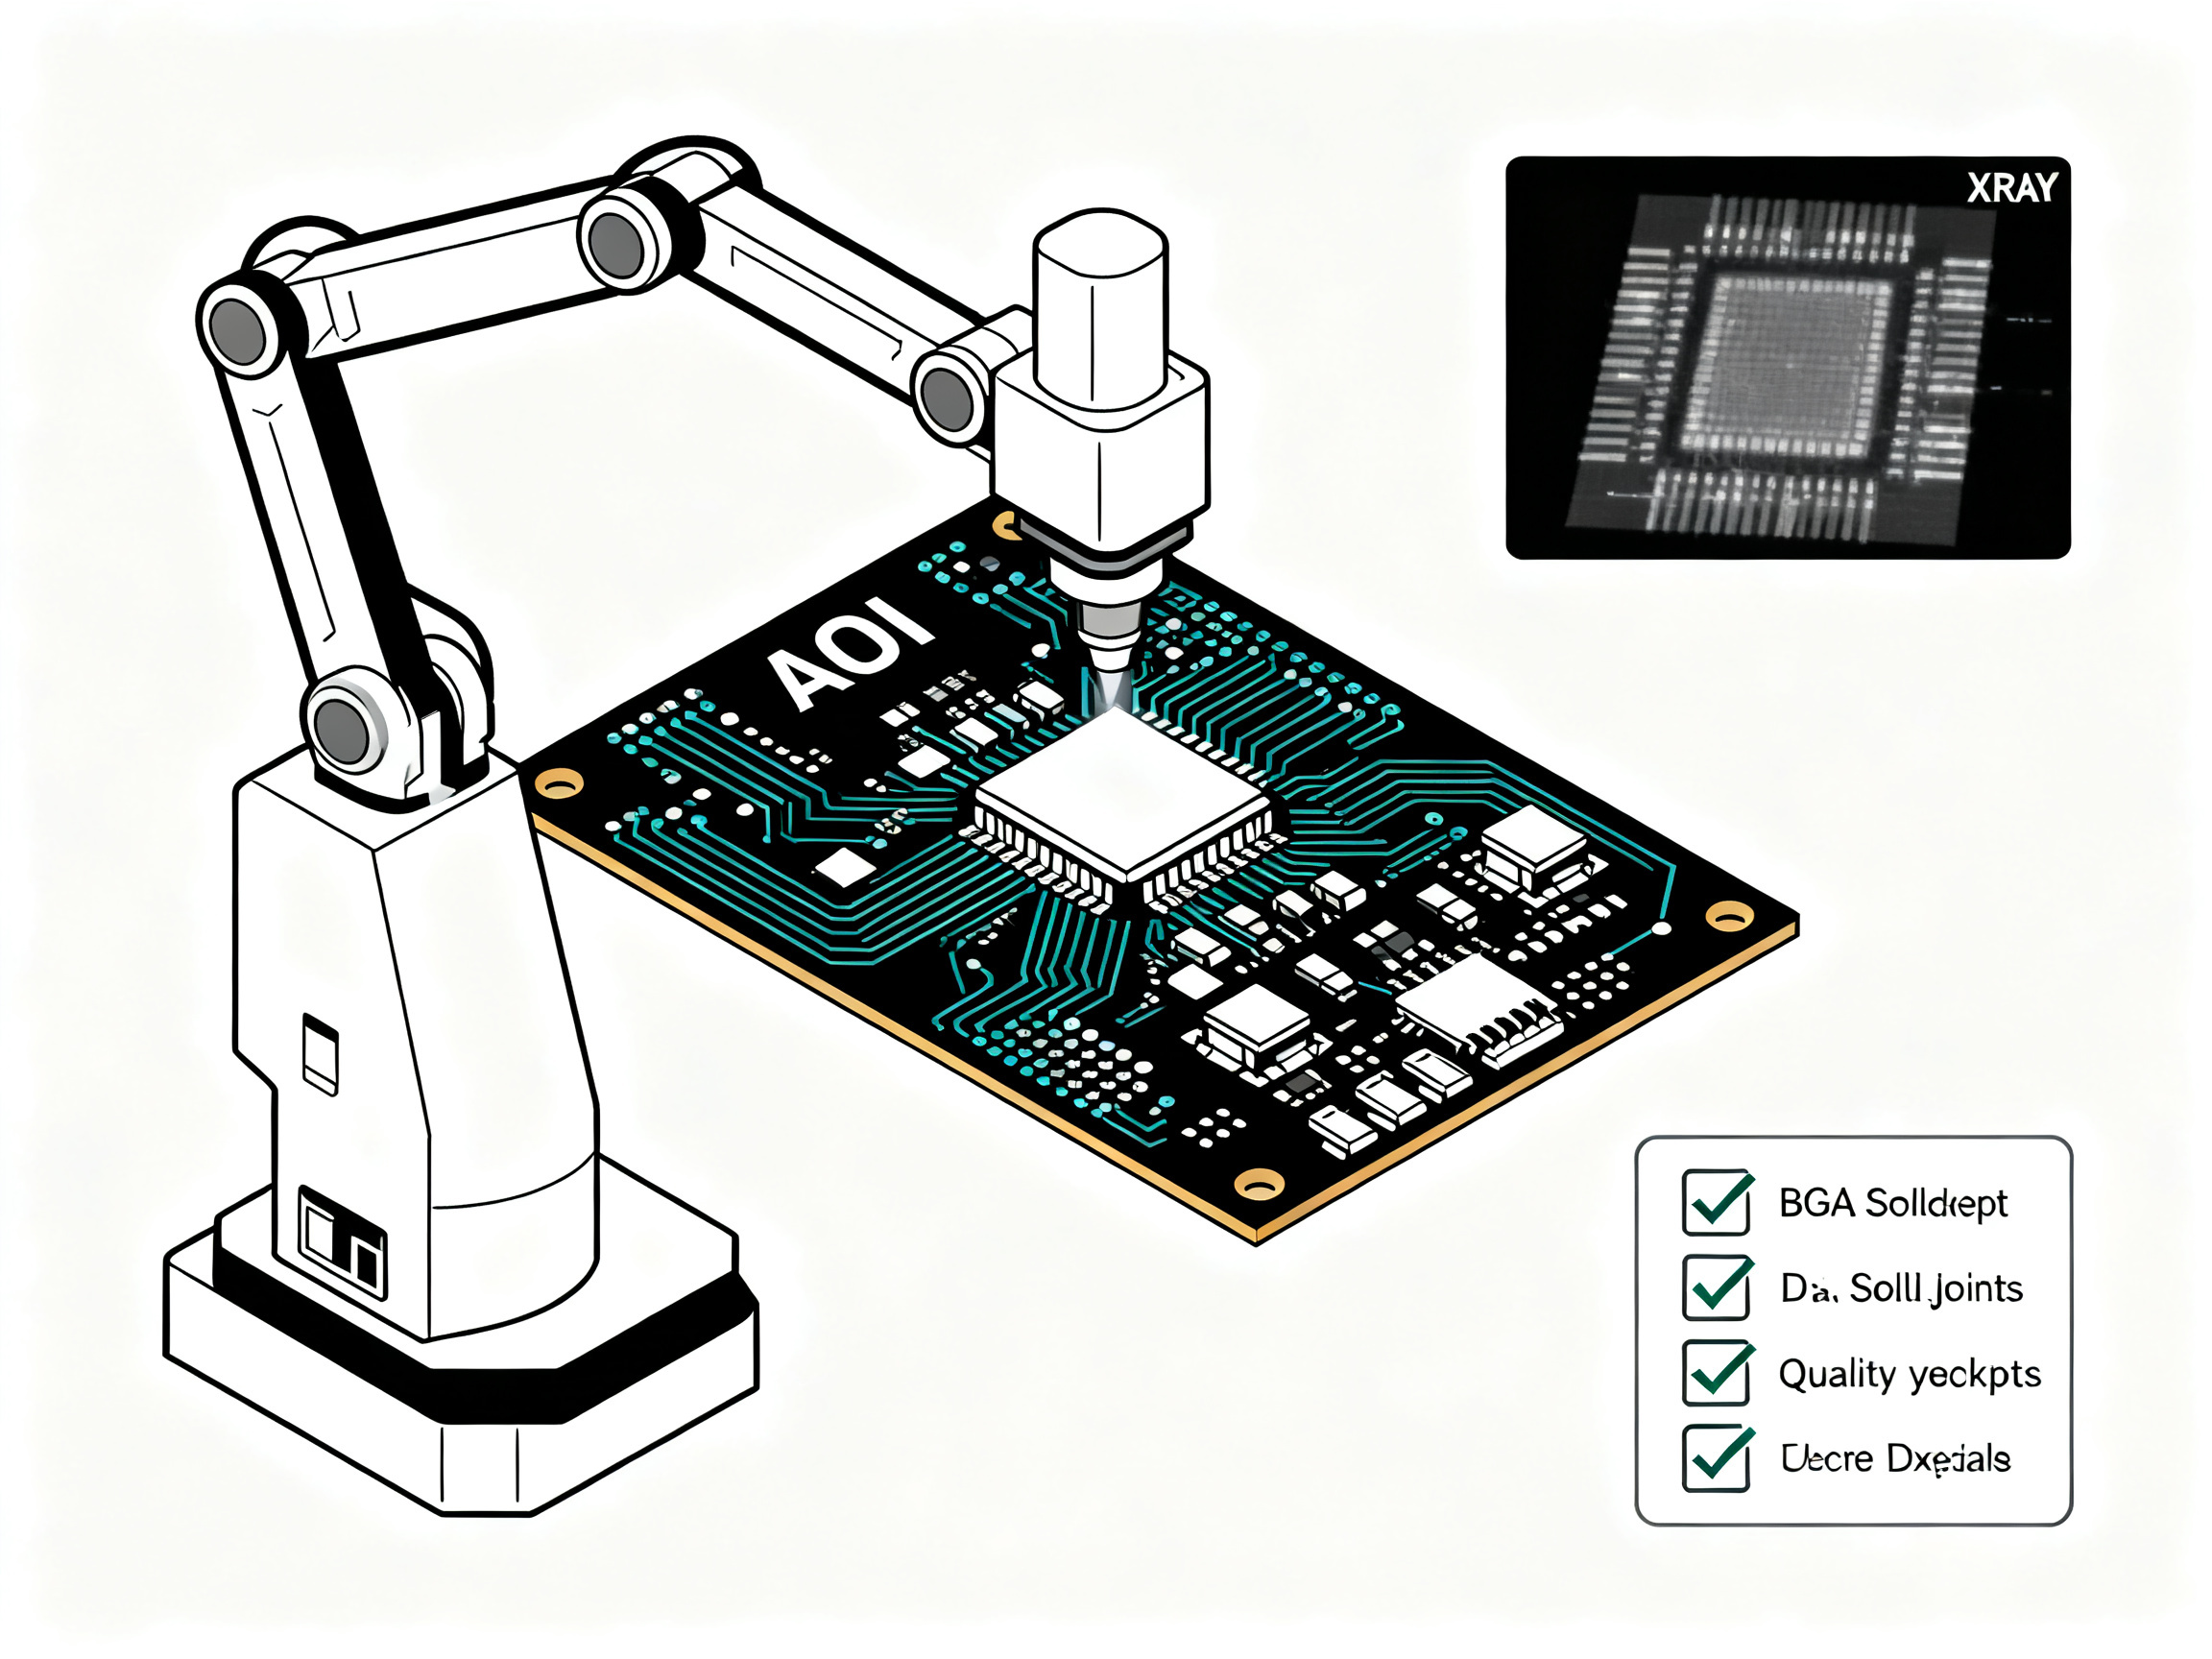
Once cooled, Automated Optical Inspection (AOI) systems scan each board for defects like missing components, misaligned parts, or solder issues. For hidden joints under BGAs, X-ray inspection reveals what’s happening below the surface.
From Our Experience: Production teams that validate solder paste printing, reflow profiles, and inspection checkpoints before scaling from prototype to volume production consistently see fewer defects and lower rework costs. Don’t skip the first-article inspection, even when you are eager to hit production targets.
Through-Hole and Mixed Technology
Some boards need both SMT and through-hole components. Connectors, high-power components, and certain legacy designs still require through-hole technology. For these, components get inserted after SMT reflow, then the board passes through wave soldering where molten solder flows across the bottom to create joints on the inserted leads.
Sun and Mountain SMT equipment handles these mixed-technology scenarios with wave soldering systems and precision reflow ovens that maintain consistent thermal profiles across different board types.
The Result
After inspection, testing, and cleaning, you have a finished PCBA ready for box build or shipment. Every conveyor, oven, and inspection system working together is what separates reliable production from hit-or-miss assembly.
Choosing the Right PCB Assembly Partner: What Actually Matters in 2026
You’ve got your design locked in, your BOM finalized, and your Gerber files ready. Now comes the decision that can make or break your product launch: picking the right assembly house.
The electronics manufacturing services (EMS) market is crowded. Every supplier claims high yields, fast turnaround, and competitive pricing. But when you’re comparing quotes, the details reveal what actually separates the reliable partners from the ones who will cost you time and money.
What to Look for in an Assembly Quote
When you request quotes for PCB assembly services, pay attention to what’s included and what isn’t. A suspiciously low price often means hidden costs later or corners being cut on quality.
Differentiate between unit pricing and total landed cost. The quote might show $2.50 per board, but when you add programming fees, setup charges, test fixtures, and shipping, your actual cost could be double. Ask for the complete cost breakdown before comparing quotes.
Check what’s included in the assembly process. Does the quote cover AOI inspection? X-ray testing for BGAs? Conformal coating? Each of these adds cost but also adds quality assurance.
Certifications That Matter
For production work, certain certifications aren’t optional—they’re requirements. If a supplier can’t provide documentation for these, move on.
ISO 9001 indicates the facility has a quality management system in place. This is the baseline for consistent manufacturing.
ISO 13485 applies if you’re building medical electronics. Medical device assembly has stricter requirements than standard consumer electronics.
IATF 16949 is essential for automotive applications. The automotive industry has zero tolerance for quality escapes, and this certification demonstrates the facility meets those standards.
IPC standards compliance matters too. Look for references to IPC-A-610 for acceptance criteria and IPC-J-STD-001 for soldering requirements.
Communication and Transparency
The best assembly houses treat you as a partner, not just a purchase order. They communicate proactively about component shortages, suggest alternatives when parts go end-of-life, and alert you to potential issues before they become problems.
Ask potential suppliers about their engineering support. Can you get a technical review of your design files before production? Do they offer DFM (design for manufacturing) analysis? These services catch problems early when they’re cheap to fix.
Red Flags to Watch For
No minimum order requirements? That’s fine for prototypes, but be suspicious of quotes for small batches with prices that seem too good. Setup costs need to be spread somewhere.
Vague lead time estimates. “It depends” might be honest, but a professional supplier should be able to give you a range based on their current queue and your specific requirements.
No first-article inspection. If a shop wants to run your boards straight into production without validating the first unit, that’s a warning sign. First-article inspection catches problems before they scale.
Building a Long-Term Relationship
Many engineering teams find that the best approach is starting with a prototype run to evaluate a supplier’s quality and communication before committing to volume production. This gives you a chance to see how they handle issues, how responsive their engineering team is, and whether their processes align with your quality expectations.
Once you find a reliable partner, the relationship gets easier over time. They learn your products, anticipate your needs, and can often offer better pricing for repeat business.
In 2026’s dynamic supply chain environment, having a trusted assembly partner matters more than ever. When component shortages hit or lead times stretch, established relationships often determine who gets priority allocation.
How Much Does PCB Assembly Cost in 2026?
Alright, let’s talk money. You need to know what you’re actually going to pay before you sign any contracts or commit to production runs.
The main things that drive your PCB assembly cost come down to a few key factors:
Board complexity matters a lot. An 8-layer board with HDI micro-vias costs way more than a simple 2-layer board. The component count and whether you’re using fine-pitch BGAs, tiny 01005 resistors, or through-hole connectors all add up. SMT assembly is generally cheaper per joint than through-hole because it can be automated, but mixed-technology boards require both processes which adds time and cost.
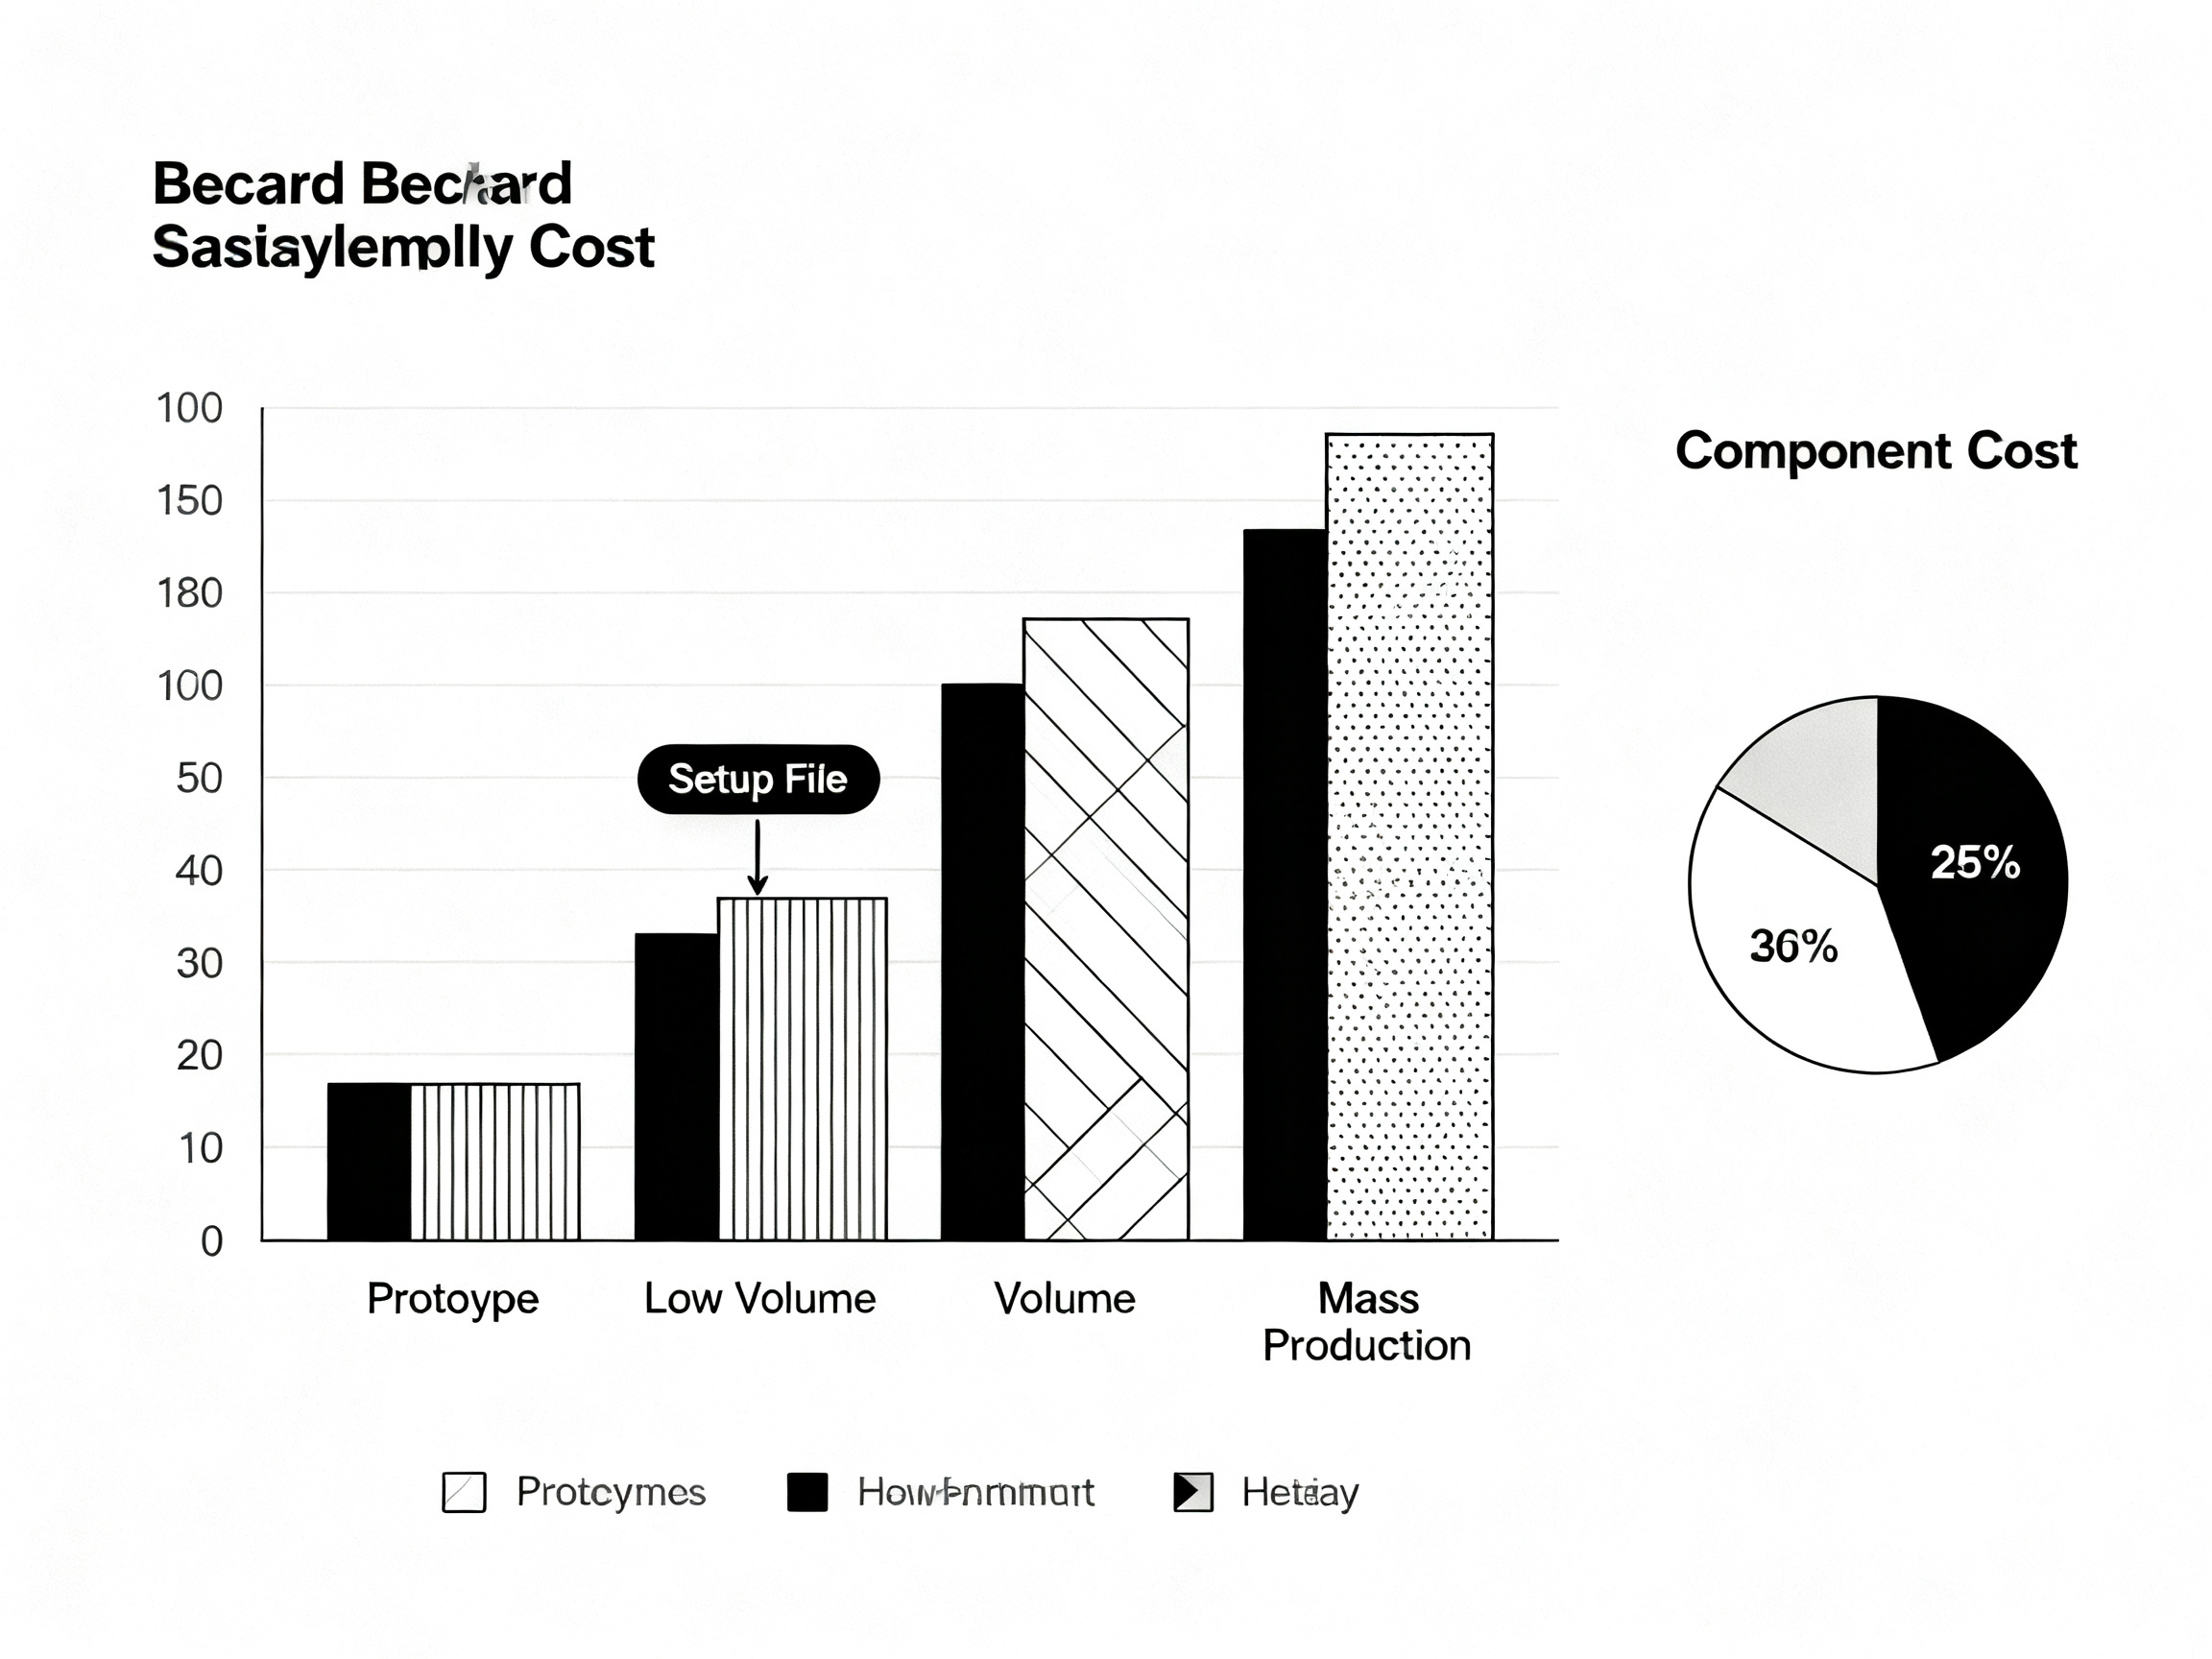
Here’s the thing that trips most people up. Setup fees (sometimes called NRE or non-recurring engineering fees) can absolutely wreck your per-unit pricing on small orders. These charges typically range from $600 to $1,750, covering machine programming, stencil creation, and first-article inspection.
Spread that across different quantities and you’ll see why volume changes everything. At 5 boards, a $600 setup fee adds $120 to each unit. At 500 boards, that same $600 fee is only $1.20 per board. Suddenly the numbers make a lot more sense.
Here’s what 2026 pricing looks like in practice:
| Volume | Simple Boards | Moderate Complexity | High Complexity (8+ Layers/HDI) |
| :— | :— | :— | :— |
| Prototype (1 to 10 pcs) | $20 to $80/unit | $80 to $150/unit | $150+/unit |
| Low Volume (10 to 100 pcs) | $10 to $40/unit | $20 to $80/unit | Exceeds $150/unit |
| Mid Volume (100 to 1,000 pcs) | $5 to $15/unit | $10 to $50/unit | $40 to $150/unit |
| Mass Production (1,000+ pcs) | $1 to $10/unit | $3 to $15/unit | $1 to $10+/unit |
A real example from recent production runs: a wearable device PCBA costs roughly $100 per board at 5 units but drops to $35 per board at 100 units. The components alone often represent 50 to 90 percent of your total PCBA cost, so understanding where your money goes matters.
Pro Insight: The lowest per-board quote can become more expensive after setup fees, component substitutions, rework, yield loss, shipping, and delayed delivery are included. Always ask for the complete line-item breakdown before comparing quotes side by side.
What about those online price calculators? Most manufacturers offer quick estimates for prototype and low-volume runs. They’re handy for ballpark budgeting, but don’t bet your production plan on them. These tools often miss things like testing fixtures, conformal coating, or expedited shipping surcharges.
The smartest move is getting a formal quote with every fee spelled out. That way you’re comparing apples to apples when you narrow down your options.
PCB Assembly Quality Standards, Testing, and Inspection
Quality matters. Not just for passing inspections, but because defective boards cost you time, money, and sleepless nights trying to figure out why your product keeps failing in the field.
So what should you expect from a solid PCB assembly service in 2026?
The Standards That Actually Matter
Two IPC standards form the backbone of quality electronics assembly. IPC-A-610J defines what acceptable finished assemblies look like, covering solder joints, component placement, and cleanliness. It sorts products into three classes, with Class 3 being the strictest for medical devices, aerospace, and automotive applications where failure is not an option.
IPC J-STD-001H goes deeper into the actual soldering process, specifying requirements for materials, methods, and process control. Think of it as the recipe book, while IPC-A-610 is the taste test at the end.
On top of that, ISO 9001 tells you the facility has a documented quality management system. And if you’re shipping globally, RoHS and REACH compliance is non-negotiable. These regulations keep hazardous substances out of your products.
Inspection at Every Step
Quality assembly isn’t just about the final check. It happens throughout the process.
Incoming inspection verifies components and bare boards before anything gets populated. Solder paste inspection (SPI) catches printing errors before components go down. AOI (Automated Optical Inspection) scans for defects after reflow, while X-ray inspection reveals what’s happening under BGAs where no camera can see.
Functional testing puts the board through its paces to make sure it actually works. And final inspection is your last chance to catch problems before shipment.
Why Traceability Counts
Here’s something many buyers overlook. When something goes wrong, you need to trace backward through the process. Which lot of components? Which machine placed them? What was the reflow profile that day?
Sun and Mountain SMT equipment includes process monitoring capabilities that support this kind of traceability. When your assembly house can answer those questions quickly, you solve problems faster and protect your customers better.
Expert Tip: Before placing an order, ask your assembly house about their defect reporting process. Get specifics on DPPM (defective parts per million), first-pass yield rates, and how they handle corrective actions when defects are found. A quality partner will have clear answers, not vague reassurances.
The right standards, proper inspection at every stage, and solid traceability systems add up to assemblies you can trust.
How to Choose a PCB Assembly Service or Supplier
Picking the wrong assembly house can turn a smooth product launch into a nightmare of delays, rework costs, and sleepless nights. Here’s how production engineers and procurement teams separate the reliable partners from the ones who will burn through your budget fast.
Supplier Scorecard: What Actually Matters
Not every factor deserves equal weight. Here’s what experienced buyers actually check when comparing quotes:
| Criteria | Why It Matters | Weight |
| :— | :— | :— |
| Equipment Capability | Determines what they can actually build | High |
| Lead Time Track Record | Affects your delivery commitments | High |
| Quality Certifications | ISO 9001, IPC standards compliance | High |
| Sourcing Support | Component availability and alternatives | Medium |
| Communication Responsiveness | Prevents costly misunderstandings | Medium |
| Scalability | Grows with your production needs | Medium |
| After-Sales Support | Fixes issues when they arise | Medium |
I usually start with the first three. If a supplier can’t place 01005 components or hits 2-week delays on simple boards, nothing else matters.
Local vs. Offshore: When Each Makes Sense
“PCB assembly near me” searches make sense when speed and IP protection matter most. Local USA shops offer faster turnaround for prototypes and NPI work, easier face-to-face communication, and simpler logistics. They cost more per board, but the time savings often justify the premium.
Offshore works better for high-volume production where unit cost savings dwarf shipping and delay costs. Many smart teams use a hybrid approach: prototypes locally for speed, then shift volume offshore once the design stabilizes.
RFQ Questions That Reveal Everything
Before signing contracts, ask these questions directly. How they answer tells you more than any price quote:
- What’s your first-pass yield rate?
- How do you handle component substitutions without asking?
- Can I get a DFM review before production starts?
- What’s your defect rate per million boards?
- How do you track lot numbers for traceability?
Expert Tip: A practical ordering checklist covering Gerber files, BOM accuracy, pick-and-place data, assembly drawings, testing requirements, lead times, and communication with the assembly house matters more than flashy marketing. Ask suppliers to walk you through their NPI process before committing.
The best suppliers answer confidently and offer documentation to back it up. The sketchy ones get vague or defensive when you push for specifics.
Sun and Mountain SMT equipment supports high-mix, low-volume production environments where supplier flexibility and consistent process control make the difference between meeting deadlines and missing them.
How to Order PCB Assembly in 2026: Step-by-Step Checklist
So your design is ready. Your BOM is finalized. Now comes the part where you actually hand off everything to an assembly house and hope they build what you meant to build.
The difference between a smooth order and weeks of back-and-forth emails often comes down to one thing: the completeness of your file package.
Here’s what you need to have ready before you hit submit.
The Files You Must Provide
Gerber files are the foundation. These include all copper layers, solder mask, silkscreen, and solder paste openings. Package them in a ZIP file with your board outline. Most manufacturers expect RS-274X format, which is standard across nearly every CAD tool out there.
Your BOM tells the assembly house what components to source. Use a spreadsheet with columns for designator, part number, quantity, and manufacturer name. The cleaner this file, the faster your quote comes back.
The pick-and-place file (sometimes called a centroid or CPL file) tells the SMT machine where each component goes and at what rotation. Include X/Y coordinates, rotation angle, and which layer (top or bottom) each part belongs on.
An assembly drawing is your visual reference for the supplier. This PDF shows component outlines, polarity markers, and any special notes about orientation. If your board has polarized parts like tantalum capacitors or diodes, this drawing is what prevents costly assembly errors.
The Supporting Details
Beyond files, specify your quantity, preferred lead time, and any special requirements upfront. RoHS compliance, IPC class level, testing requirements, and panelization preferences all affect pricing and scheduling.
A Quick Checklist
Before sending your RFQ, verify you have:
- Gerber files (all layers in one ZIP)
- BOM with part numbers and quantities
- Pick-and-place file with coordinates and rotation
- Assembly drawing with polarity markers
- Quantity and lead time requirements
- Any special instructions or testing needs
Ordering Through Online Platforms
Most assembly houses in 2026 let you upload files directly through their portal. The workflow is similar across JLCPCB, PCBWay, and similar services: upload your Gerber ZIP, drop in your BOM CSV, add your positions file, then select options like PCB thickness, surface finish, and assembly preferences.
The process takes about 15 minutes if your files are clean. The most common delay? Inconsistent revisions between your BOM and your Gerber files. Triple-check they’re from the same design version before uploading.
Expert Tip: A practical ordering checklist covering Gerber files, BOM accuracy, pick-and-place data, assembly drawings, testing requirements, lead times, and communication with the assembly house matters more than flashy marketing. Ask suppliers to walk you through their NPI process before committing.
Sun and Mountain SMT equipment supports high-mix, low-volume production environments where getting the file package right the first time keeps orders moving through the line without expensive reworks.
Common PCB Assembly Mistakes That Increase Cost or Delay Production
You sent your files off. The quote looked reasonable. Then somehow, weeks later, you’re staring at a delay email and a surprise invoice.
Sound familiar? Most of these problems trace back to a handful of preventable mistakes. Let me walk through them so you can sidestep them.
Design and Documentation Errors
Missing reference designators, poor component footprints, and unclear polarity markings create costly assembly errors. Insufficient test points and incomplete assembly notes force the manufacturer to make assumptions, which usually means rework. Double-check your library footprints match datasheets, and mark polarity clearly on your silkscreen.
Sourcing and Planning Mistakes
Choosing unavailable components kills projects fast. In 2026’s supply chain environment, always verify part availability before finalizing your BOM. Ignoring MOQ (minimum order quantities) and failing to approve alternate parts upfront leads to delays and price shocks. Semiconductor lead times still stretch to 40 weeks for some logic ICs, so build that buffer into your timeline.
Production Mistakes on the SMT Line
Poor panelization wastes board real estate and drives up per-unit cost. Inadequate thermal profiling during reflow creates cold joints and tombstoning. Weak inspection criteria let defects slip through, while late design changes after tooling are expensive to implement. Sun and Mountain SMT equipment helps catch thermal profile issues early, but the best defense is getting your files right before they reach the line.
Here’s a quick reference for the most common mistakes:
| Mistake | Impact | Prevention | Who Owns It |
| :— | :— | :— | :— |
| Missing reference designators | Rework, delays, wrong parts placed | Audit BOM before submission | Engineering |
| Poor component footprints | Weak joints, opens, field failures | Validate library vs. datasheet | Design |
| Unclear polarity markings | Assembly errors, damaged parts | Clear silkscreen and drawing notes | Design |
| Choosing unavailable parts | Production halt, substitute delays | Check distributor stock before quoting | Procurement |
| Ignoring MOQ constraints | Unexpected fees, inventory overages | Review manufacturer requirements upfront | Procurement |
| Poor panelization | Higher per-unit cost, wasted space | Optimize layout per manufacturer specs | Design |
| Late design changes after tooling | Expensive retooling, schedule slips | Freeze design before NPI start | Engineering |
Expert Tip: Get a DFM (design for manufacturing) review done before you commit to production. Most reputable assembly houses offer this free or cheap. Catching footprint mismatches or panelization issues on paper costs nothing. Fixing them after you’ve ordered 500 boards costs a fortune.
The fix is straightforward. Validate your files. Communicate clearly. And please, freeze your design before tooling starts.
PCB Assembly FAQs
Got questions? You’re not alone. These are the most common things people ask when they’re getting started with PCB assembly.
What is PCB assembly?
PCB assembly (PCBA) is the process of mounting electronic components onto a bare circuit board and creating solder joints that form working electrical connections. Without this step, your PCB is just an empty green board that can’t do anything. Check out our PCB Assembly Process section for a detailed walkthrough.
What is turnkey PCB assembly?
Turnkey means the assembly provider handles everything: they source all your components, assemble the board, and ship you finished units. You just send your design files. This model simplifies procurement but typically costs 30 to 40 percent more upfront. See our Turnkey Services section for a full comparison.
How much does PCB assembly cost?
In 2026, prototype assembly runs about $20 to $150 per board depending on complexity. Low-volume production (10 to 100 units) drops to $10 to $80 per board. Setup fees of $600 to $1,750 often make small orders way more expensive per unit than they might seem. Dive into our Cost Breakdown section for exact numbers and tables.
Where can I find PCB assembly services near me?
Search for “pcb assembly near me” to find local shops if speed and IP protection matter most. USA-based services typically cost more per board but offer faster turnaround and easier communication. Offshore options work better for high-volume production where unit cost savings outweigh shipping time. Our Supplier Guide section has tips on picking the right option for your project.
Can I order PCB assembly online?
Yes. Services like JLCPCB, PCBWay, and others let you upload Gerber files, BOM, and pick-and-place data directly through their portals. The process takes about 15 minutes if your files are clean. Our Step-by-Step Ordering section covers everything you need to prepare.
Expert Recommendations for Ordering PCB Assembly with Less Risk
Here’s what you need to remember before you hit submit on that RFQ.
The decision path breaks down into five steps:
- Understand the assembly process so you know what you’re asking for
- Prepare complete documentation (Gerbers, BOM, pick-and-place files, assembly drawings)
- Choose the right service model (turnkey, consigned, or partial)
- Compare total cost, not just per-unit pricing
- Verify quality controls and certifications before signing anything
Your next-step checklist:
- Audit your file package for revision consistency
- Confirm component availability before quoting
- Get a DFM review done before production
- Request quotes with line-item breakdowns
- Validate supplier certifications with documentation
- Start with a prototype run to test the relationship
The bottom line: Align your assembly partner’s capabilities with your throughput, precision, reliability, and scalability goals. If your production roadmap includes scaling volumes or tightening quality standards, make sure your SMT equipment and supplier processes can grow with you. The right partnership today protects your timeline and margins tomorrow.
Ready to evaluate your assembly line setup? Talk to our team about SMT equipment that supports consistent, scalable production.